How to Record Instagram Videos for Max Engagement in 2026
Other

You recorded a solid video. The hook was good, the lighting looked fine on your phone, and the edit felt sharp. Then you posted it to Instagram and watched it come out softer, slower, and less compelling than what you made.
That gap frustrates almost every creator at some point. Some people struggle with recording natively inside Instagram. Others already have strong long-form content on YouTube, podcasts, webinars, or interviews, but they waste hours trying to turn it into usable short clips. Both problems matter if you're figuring out how to record Instagram videos in a way that helps your account grow.
Your Complete Guide to Instagram Video in 2026
Instagram video is no longer optional if you want reach. Reels account for 20% of total time spent on Instagram and engage 45% of Instagram's user base at least once per week, according to comScore's Reels analysis. That tells you two things fast. People are spending serious time watching short video, and Instagram has every reason to keep pushing that format.
Most advice online splits into two camps. One side says to shoot everything inside the app. The other says to create polished videos elsewhere and upload later. In practice, serious creators need both.
Two recording workflows that make sense
Native recording works best when speed matters.
- Stories and quick Reels: You want immediacy, reactions, behind-the-scenes footage, or a fast update.
- Live sessions: You need direct interaction, comments, and real-time engagement.
- Trend response content: You don't want to lose momentum exporting, transferring, and re-editing.
Repurposed recording works best when extracting maximum value is important.
- Podcast clips: One long conversation can yield multiple short points.
- Tutorials and webinars: Dense content usually hides several good short-form moments.
- YouTube videos and interviews: You already did the hard part. The smart move is extracting more value from it.
Practical rule: Don’t treat Instagram video as one format. Treat it as two systems. One for capturing fast content, one for multiplying content you already made.
That’s the shift most creators need. The best workflow isn't choosing between native and repurposed video. It's knowing when each method wins, then setting up your recording process so quality survives from capture to upload.
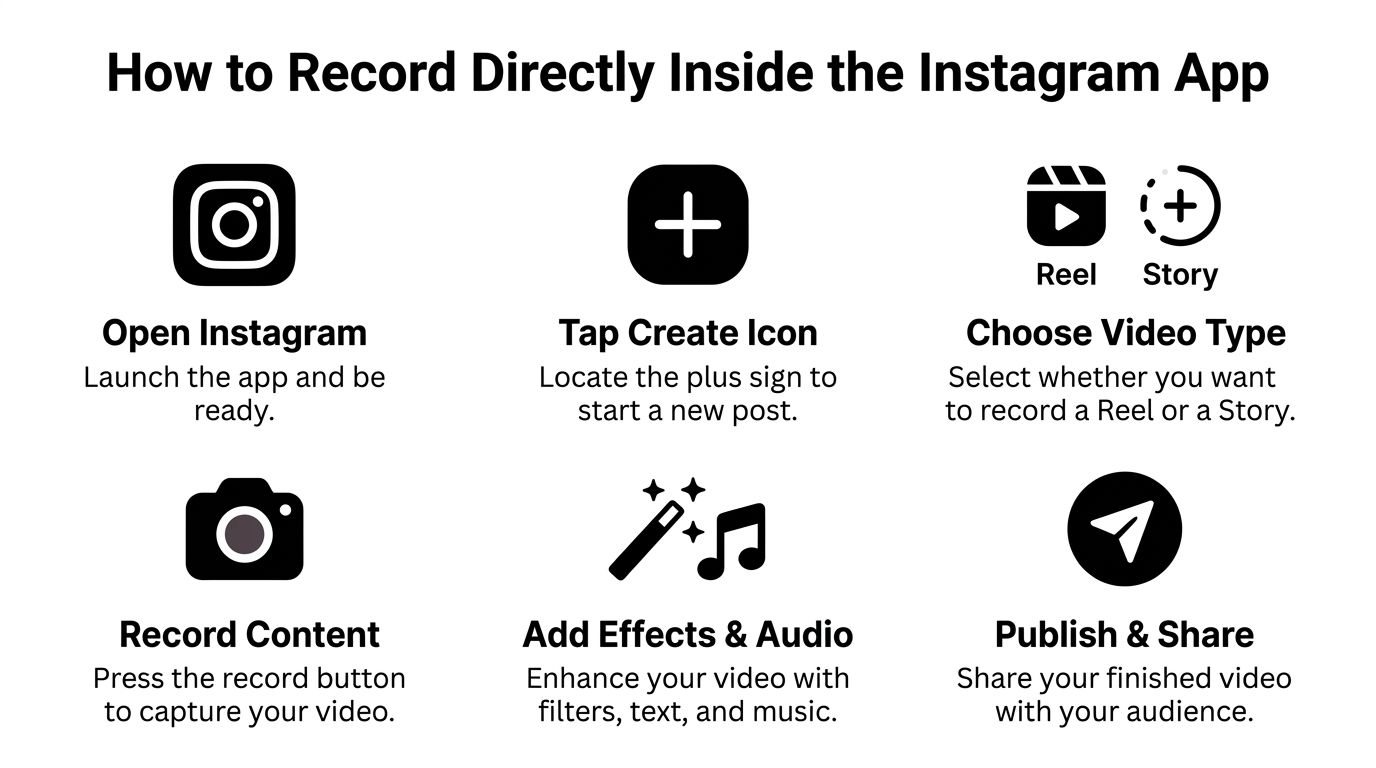
How to Record Directly Inside the Instagram App
Recording inside Instagram is still the fastest path from idea to publish. It also removes a lot of friction. You don't have to export, transfer files, or wonder whether your video will crop oddly after upload.
Record a Reel the right way
For Reels, start from your profile or home screen, tap create, choose Reel, then open the camera. That locks you into the vertical format Instagram expects.
A few recording habits make a noticeable difference:
- Use the rear camera when quality matters most. For native Reels, the rear camera can offer up to 4x higher resolution than the front camera, and high-resolution Reels see 2.5x more views on average based on the guidance summarized in Elise Darma's Instagram video guide.
- Record clips longer than the minimum. Clips need to be over 3 seconds to enable saving and editing functions in the same guidance above.
- Build the first clip around your hook. Don't warm up with filler. Start with the most visually clear moment or strongest line.
If you're filming a talking-head Reel, frame yourself first, then test one short take before you commit. Too many creators hit record before checking brightness, headroom, and background clutter.
Use Instagram's built-in tools like an editor
The native Reel camera isn't just a record button. It's a lightweight editing system.
Multi-clip recording
This is useful when you're filming step-by-step content, outfit transitions, product demos, or short educational videos. Record one clip, release, reposition, and record again. It keeps the workflow fast without forcing you into a separate editing app for simple sequences.
A few smart uses:
- Tutorial pacing: One clip for the promise, one for the demo, one for the result.
- Visual transitions: Move your body or object slightly between cuts so the sequence feels intentional.
- Retakes without restarting everything: If one segment is weak, redo that segment only.
Timer and hands-free capture
Use the timer when you need distance from the phone. This matters for fitness, cooking, desk tutorials, and solo creator shoots.
The timer gives you a cleaner setup because you’re not lunging toward the screen at the start of every take. That one change instantly makes native videos look less rushed.
Speed controls
Speed changes work when they support the content. Slow motion can highlight detail. Faster motion can tighten repetitive actions.
What doesn't work is using speed effects just because they're there. If the effect distracts from the message, drop it.
The best native Reels feel simple on the surface. Underneath, they usually have deliberate pacing, cleaner framing, and tighter clip order than casual creators realize.
Stories should feel immediate, not sloppy
Stories are where you can be looser, but not careless. The best Stories still respect the viewer's attention.
What to do before you hit record
Use Stories for updates, reactions, quick lessons, polls, or proof-of-work content. Before recording, decide whether the Story needs:
- Face-to-camera energy
- A product or screen demonstration
- Text support for silent viewers
- An interactive sticker such as a poll, question, or slider
That decision changes how you frame and speak.
If you're talking on camera, keep the background plain and the camera steady. If you're showing something physical, tap to focus before you record and avoid whipping the camera around. Story viewers leave fast when they can't tell what they're looking at.
What usually works better than overproducing
Stories perform best when they feel current. You don't need to make them look like ads.
Try this structure:
- Clip one: State the point fast.
- Clip two: Show the proof, process, or example.
- Clip three: Add the sticker, question, or call to reply.
That format is simple, but it works because each clip has a job.
Going Live without wasting your audience's time
Live video is powerful when you have a reason to be there. It's weak when you go live just because you feel like you should.
Before you start:
What to prepareWhy it matters
Topic outline
Keeps you from rambling
Stable phone position
Prevents distracting movement
Quiet environment
Makes comments and answers easier to follow
Opening line
Tells people why they should stay
Backup examples or talking points
Helps when the chat is slow
Open strong. Tell viewers what you're discussing, what they'll get, and why it's worth staying.
For example, don't open with dead air and waiting. Open with the actual promise. Then let late joiners catch up.
If comments get active, answer directly and repeat the question out loud before responding. That keeps the replay useful later.
Native recording mistakes that kill momentum
A lot of weak Instagram video comes from the same few errors:
- Using the front camera by default: Easy, but usually softer.
- Recording before cleaning the lens: A basic mistake that ruins sharpness.
- Starting with dead time: Scrolling fingers, repositioning, throat clearing.
- Ignoring on-screen text placement: Keep key text away from edges and UI areas.
- Posting without watching once through: Always catch awkward cuts, clipped words, or bad audio before publishing.
When native recording works, it feels fast and clean. Not rushed.
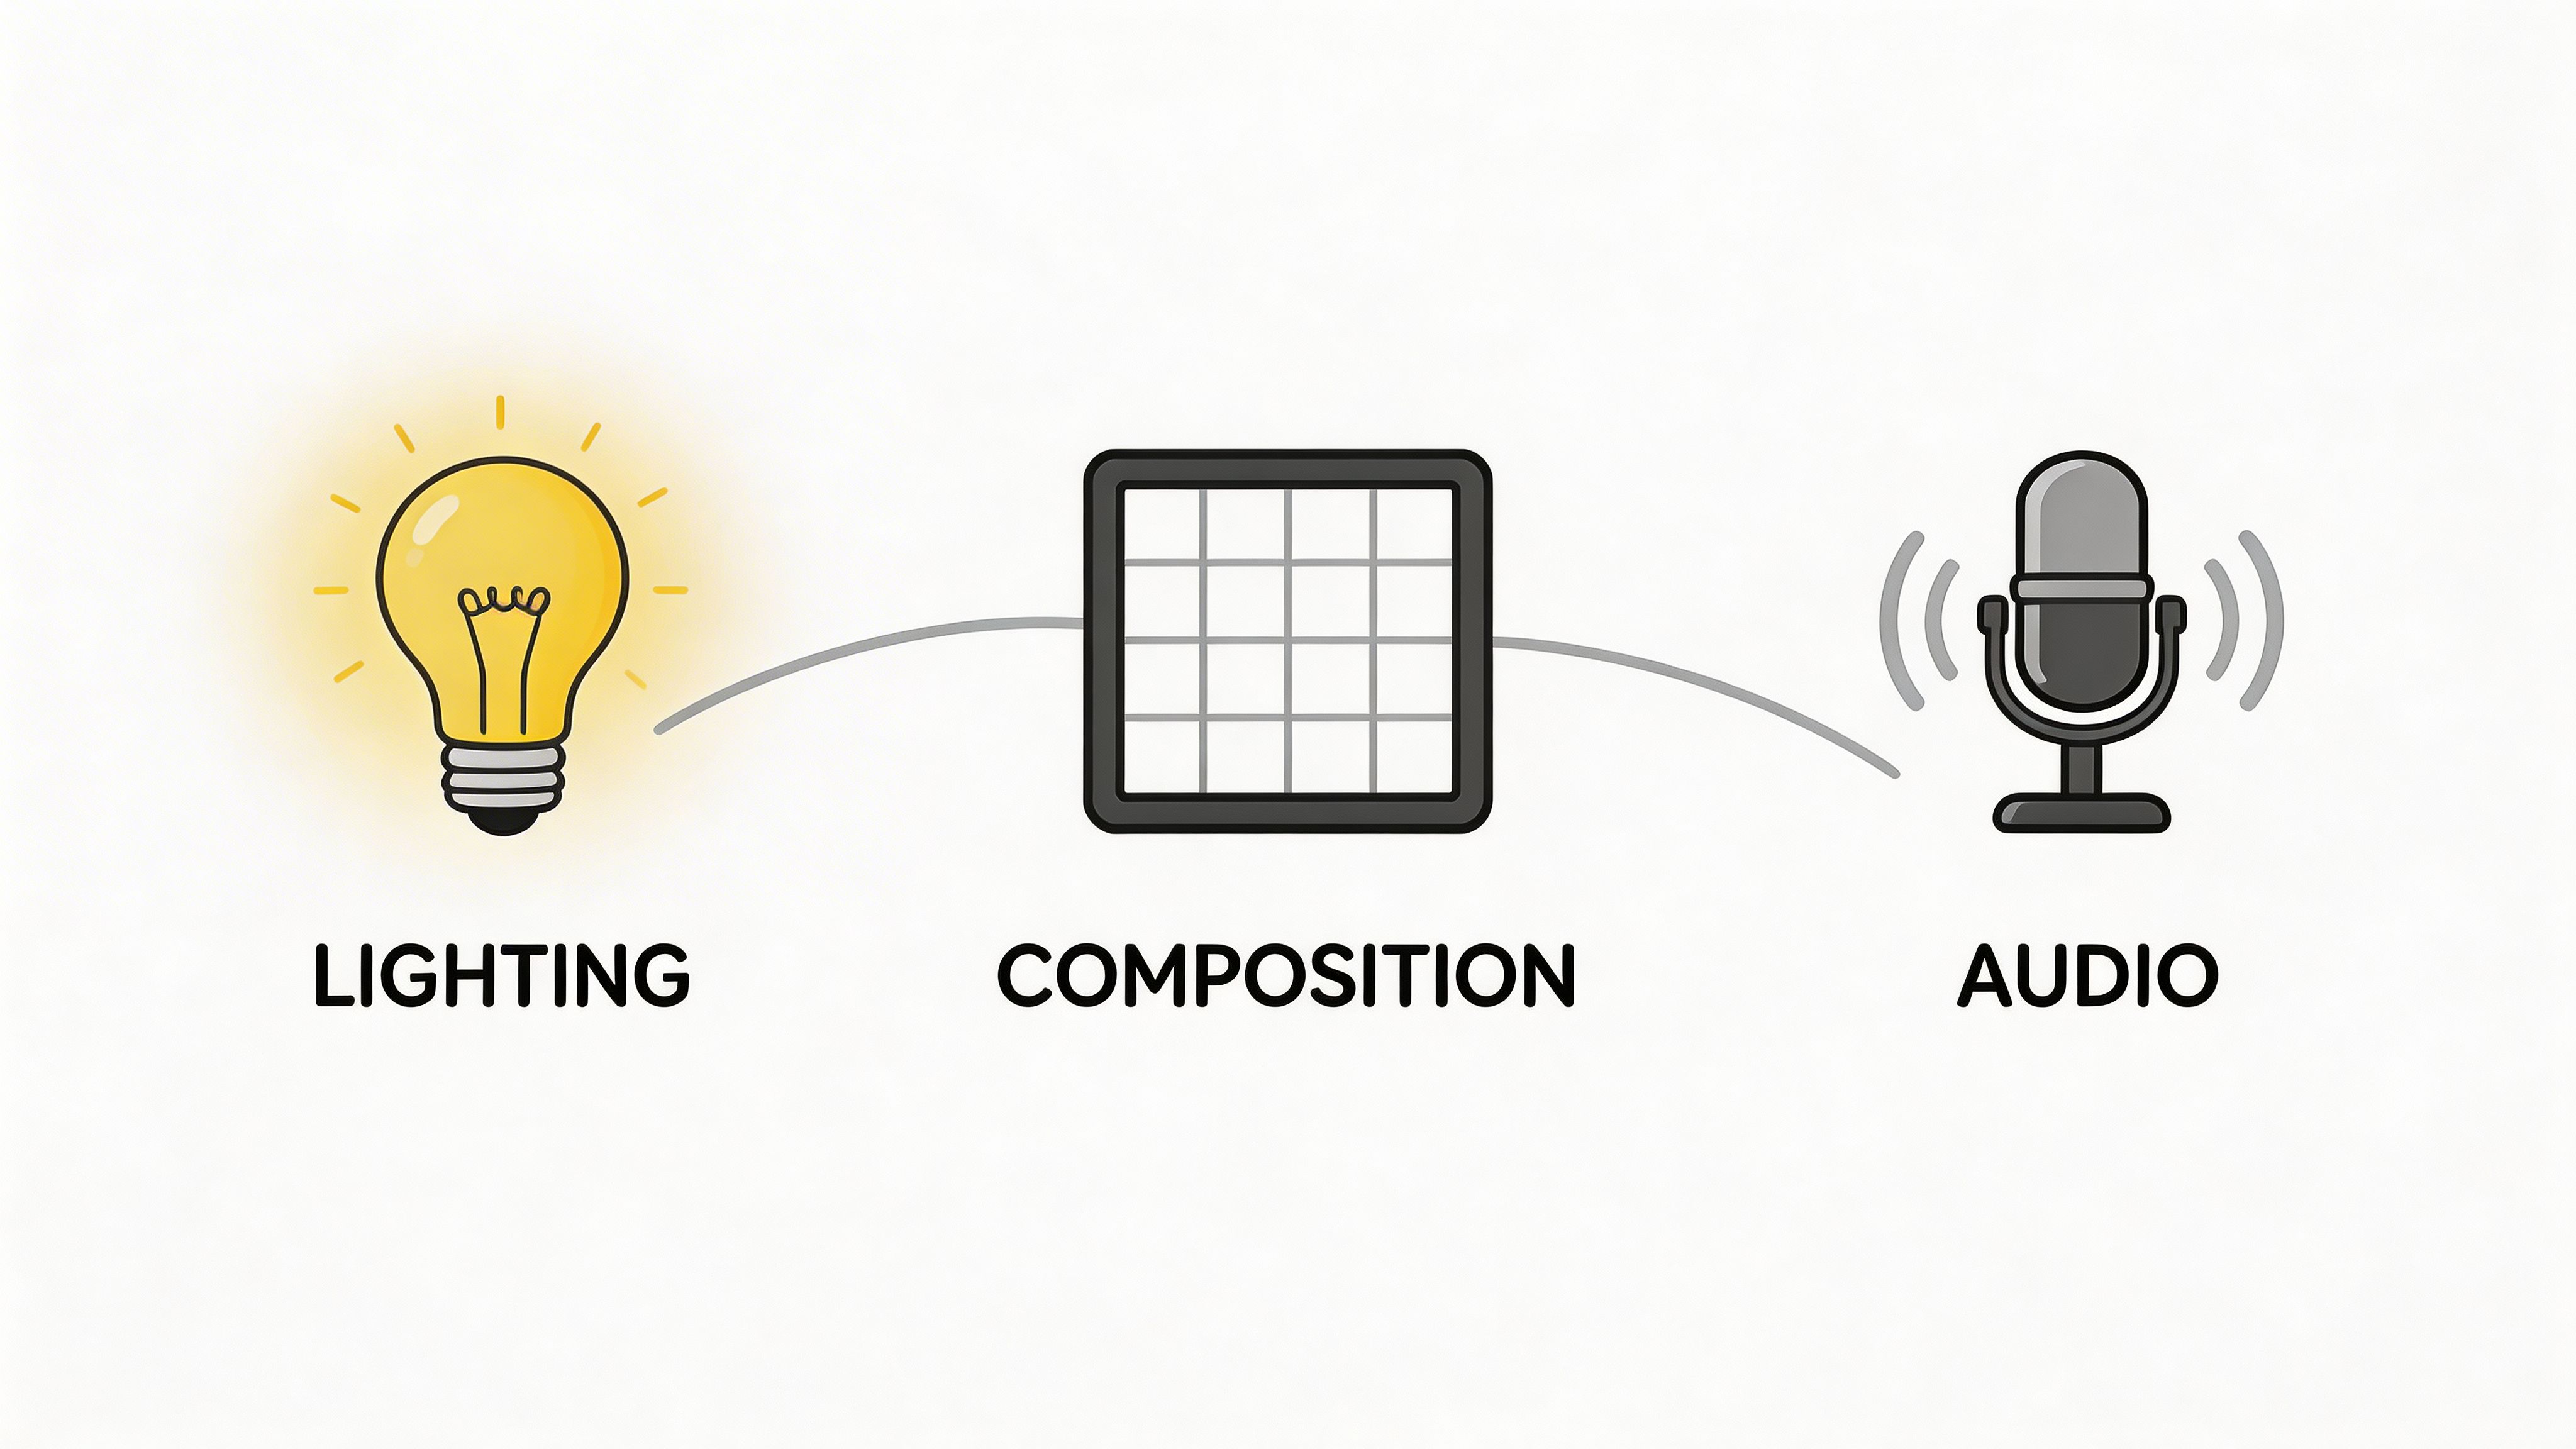
Mastering Your Lighting Composition and Audio
Most creators blame the algorithm when the core issue is production quality. Not expensive production. Basic production.
If your video looks dim, sounds hollow, or starts with visual confusion, viewers leave before your idea has a chance. Instagram counts a view after 3 seconds, and this makes the opening moments decisive for retention, as outlined in Social Status's explanation of Instagram Video View Rate.
Lighting that makes a phone camera look better
Good lighting is usually simple. Face a window. Stand where the light hits your face evenly. Turn off ugly overhead lighting if it creates shadows under your eyes.
If you're indoors at night, put one main light slightly above eye level and angle it toward your face. Then separate yourself from the background if you can. A little distance helps more than people think.
A few practical rules:
- Natural light first: Great for talking-head videos when it’s consistent.
- Avoid mixed color temperatures: A cool window plus a warm lamp can make skin look off.
- Watch the background brightness: If the window is behind you, the phone may expose for the background and darken your face.
Composition for vertical video
Vertical framing rewards clarity. Keep the subject obvious.
For talking-head videos, place your eyes in the upper portion of the frame, not dead center. Leave enough room for captions and text overlays. If your hands are part of the explanation, frame wider so gestures don't get chopped.
What works well:
- Single-subject framing: Best for direct teaching or commentary.
- Over-the-shoulder angle: Useful for product demos or laptop walkthroughs.
- Centered product shot with negative space: Helps when text needs to appear around the item.
What usually fails is clutter. If the viewer doesn't know where to look, the first few seconds feel harder than they should.
Clean framing beats clever framing on Instagram. The platform rewards videos that are easy to understand instantly.
Audio is often the key differentiator
Creators obsess over visuals and then record in a room with echo. That's backwards. People will tolerate imperfect visuals longer than muddy speech.
If you’re using your phone mic, get closer to the phone and reduce room noise. Soft furnishings help. So does turning off fans, AC noise, and nearby notifications.
If you're repurposing talking-head content, clear captions help carry the message when people watch on mute. A dedicated subtitle generator is useful when your spoken content needs to stay readable without forcing manual caption timing.
Here’s a good visual walkthrough before you record your next batch:
A fast pre-record checklist
Before recording, check these in order:
- Can I hear my voice clearly?
- Is my face brighter than the background?
- Is the subject obvious at a glance?
- Does the first line matter immediately?
- Will captions cover anything important on screen?
That checklist takes less than a minute. It prevents most amateur-looking uploads.
Keeping Your Video Quality High After Uploading
A crisp source video can still look rough after upload if your workflow is messy. Most quality loss happens before you hit publish. It usually comes from poor capture habits, bad file handling, or editing in the wrong aspect ratio and trying to fix it later.
Protect quality at capture
If you're recording outside Instagram with your phone's native camera, lock in the framing before you start. Don’t rely on last-minute crops to turn horizontal footage into vertical content unless you know the shot can survive it.
A few habits help immediately:
- Clean the lens first: It sounds obvious because it is. People still forget.
- Lock exposure when possible: This prevents brightness shifts while you move.
- Keep movement intentional: Handheld is fine if it feels controlled, not shaky.
- Leave room for crop-safe editing: Don’t frame faces too tightly if the clip may become a Reel later.
Edit for the format you plan to post
A lot of creators lose quality because they edit one master video and try to force it into every platform. Instagram punishes lazy formatting more than people expect.
For Reels and Stories, edit with vertical delivery in mind from the start. Keep text readable on a phone, and don’t push important elements to the edge. If you're adapting a wider clip, resize it before export instead of relying on a rough in-app crop. A purpose-built video resizing tool makes that cleanup faster when you need social-ready dimensions without re-editing from scratch.
File transfer matters more than people think
The transfer step is where creators accidentally compress their own footage. Messaging apps are a common culprit. If you send your finished video through the wrong channel, you can flatten quality before Instagram even touches it.
Safer options include:
- AirDrop or direct cable transfer: Good when you want the original file intact.
- Cloud storage: Useful if it preserves the file rather than creating a compressed preview copy.
- Direct desktop upload workflows: Helpful when you want more control over the final asset.
If your upload looks bad, don’t assume Instagram ruined it. Check the version you transferred first. A lot of “Instagram compression” starts earlier in the chain.
Final review before posting
Watch the exported file one full time before upload. Look for softness, text placement issues, cropped captions, and audio imbalance.
This last pass catches more problems than any preset ever will.
The Smart Way to Repurpose Long-Form Videos into Shorts
Daily short-form production burns people out fast. The better approach is to stop treating every Reel like a brand-new shoot.
If you already publish long videos, interviews, webinars, coaching calls, or podcasts, you likely have more Instagram content than you think. The primary bottleneck isn't ideas. It's extraction.
A 2025 report found that a significant portion of creators struggle with extracting short clips from long-form content, while Reels from repurposed videos can achieve higher engagement rates, based on the data cited in this 2025 video source. That gap explains why repurposing is no longer a side tactic. It's core workflow.
Why manual clipping wastes too much time
Manual repurposing sounds easy until you're doing it every week.
You scrub through an hour-long video. You mark possible timestamps. You trim a clip. Then you realize the opening is too slow for Instagram, the framing is horizontal, the subtitles need work, and the speaker drifts out of center.
That process isn't just tedious. It breaks consistency.
Here’s where most manual workflows fail:
- Finding hooks takes too long
- Vertical reframing is repetitive
- Caption timing slows everything down
- Publishing cadence falls apart because editing becomes a bottleneck
Teams dealing with broader content operations often run into the same issue across channels, which is why resources on automation features are useful beyond social media alone. The principle is the same. Repeated manual tasks eventually choke output.
What a smarter repurposing workflow looks like
The stronger system is simple. Start with your best long-form asset. Pull out the highest-interest moments. Reframe for vertical. Add captions. Review. Publish.
The difference is whether you do all of that manually or let software handle the heavy lifting first.
A practical flow looks like this:
- Start with one content-rich source
Good candidates include interviews, podcasts, explainers, webinars, tutorials, or commentary videos. - Identify sections with standalone value
The strongest short clips usually make sense without the full episode around them. Think one argument, one lesson, one reaction, one story. - Adapt for vertical viewing
The clip has to work with mobile framing, readable captions, and a strong opening beat. - Trim aggressively
Instagram doesn't reward scene-setting nearly as much as clarity and immediacy.
Where conversion tools help
If you regularly repurpose long videos, a dedicated long-form to short-form video converter is the more practical route than rebuilding the same process by hand every time.
That kind of workflow helps with the three hardest parts of repurposing:
- Hook selection
- Vertical reframing
- Caption-ready output
One strong long-form recording can support multiple short videos if each clip answers a single question or lands a single point.
That’s the key mindset shift. You’re not chopping a video into random pieces. You’re extracting individual outcomes for the viewer.
What repurposes best for Instagram
Not every long-form moment deserves a Reel. Look for clips that have one of these qualities:
Clip typeWhy it works on Instagram
Strong opinion
Stops scrolling fast
Clear tactical advice
Delivers immediate value
Surprising insight
Creates curiosity
Relatable mistake
Feels personal and shareable
Concise story beat
Holds attention without context overload
Repurposing works best when you treat long-form content like a library, not an archive. Useful footage shouldn't stay buried after its first publish.
Start Creating Videos That Grow Your Account
The strongest Instagram strategy isn't all native and it isn't all repurposed. It's both.
Use native recording when speed, presence, and real-time context matter. Use repurposed clips when you want consistency, depth, and a steady pipeline of short-form content without filming from scratch every day.
That combination solves the problem most creators run into. You stay current without becoming reactive, and you stay productive without turning content creation into a full-time editing job.
If you’ve been stuck figuring out how to record instagram videos that look good and lead somewhere, keep the system simple. Record quickly in-app when the moment calls for it. Build from your long-form library when the value derived from existing content is more important than speed.
Done right, you get quality and volume at the same time.
Frequently Asked Questions About Instagram Videos
Should I record inside Instagram or with my phone camera first
Use Instagram when you need speed, trends, Stories, or quick Reels. Use your phone camera first when you want more control over lighting, retakes, file management, and later editing.
A good rule is this. If the content is timely, record natively. If the content has a longer shelf life, record externally and edit with intention.
Why do my Instagram videos look blurry after upload
Usually one of three things happened. The source clip was weak, the file got compressed during transfer, or the framing was wrong for the format and had to be stretched or cropped awkwardly.
Check the exported file before uploading. Then check the transfer method. A lot of creators assume Instagram caused the problem when it happened earlier.
Is screen recording Instagram videos a good idea
It can work for specific situations, especially when you're capturing reference material or documenting your own content for later reuse. But it’s usually not the best choice for primary content creation because screen capture adds another layer between the original video and the final file.
If quality matters, start from the original recording whenever possible.
How long should an Instagram video be
Length depends on the format and the idea. Short is not automatically better. Clear is better.
If the point lands fast, keep it tight. If the video needs a little more setup, earn that extra time by making the opening immediately interesting.
Do captions really matter
Yes. They help with clarity, accessibility, and retention, especially when viewers watch without sound. Even strong spoken delivery benefits from readable on-screen text.
What’s the biggest recording mistake creators make
They start too slowly. Weak openings lose viewers before the content gets good.
Your first visual, first line, and first few seconds carry more weight than the rest of the edit.
If you already have long videos sitting on YouTube, podcasts, interviews, or webinars, Klap is the fastest way to turn them into social-ready short clips. It helps you extract strong moments, format them for vertical viewing, add captions, and keep your Instagram pipeline moving without hours of manual editing.
