How to Edit Videos on PC: A Step-by-Step Guide for Modern Creators
Content Creation

Quick Summary
This guide covers how to edit videos on PC using two tools: Klap and CapCut. You'll learn how to upload footage, trim clips, add captions, and export finished videos for social media. For more video editing tips and workflow guides, explore our blog.
Tired of Slow Video Editing on Your PC?
You have great footage, but your editing workflow is costing you hours. Manual PC editing means trimming silence frame by frame, syncing captions line by line, and waiting for laggy timelines to respond. If you spend five hours producing one minute of video, you cannot post consistently, and without consistency, growing an audience is nearly impossible.
Modern video editing demands speed and platform-specific formatting. You should not need a film degree to produce content that works on TikTok, Reels, or YouTube Shorts.
In this Klap article, we explain two efficient workflows to edit videos on PC. We’ll show you how to use streamlined manual tools and AI automation to produce professional videos without the technical headache.
Why Listen to Us?
At Klap, we build AI tools that help creators and marketing teams turn long-form videos into short, publish-ready clips. Over 2.2 million creators use Klap to repurpose content for TikTok, Reels, and YouTube Shorts. That hands-on experience with real video workflows gives us a grounded view of what actually works when editing video on a PC, whether you're a solo creator or part of a team.
What Is PC Video Editing?
PC video editing is the use of a desktop or laptop to cut, arrange, and enhance footage into a finished video. This workflow involves trimming clips, syncing audio, and adding captions using hardware that provides more processing power and precision than a mobile device.
Unlike mobile apps, PC editing allows you to manage complex, multi-track timelines and high-resolution 4K files without lag. It is typically performed through manual software like CapCut or Premiere Pro for full creative control, or via AI-powered tools like Klap that automate highlighting and reframing.
Why PC Video Editing Still Matters
- Superior Processing Power: High-end projects, especially those in 4K, require significant hardware. Modern PCs allow for smoother timelines and faster rendering. Using a dedicated desktop GPU can significantly reduce export times, depending on hardware.
- Advanced Workflow Control: Desktop editing offers full control over complex timelines, multi-track edits, and layered effects. You can manage video, audio, and graphics together, use keyframes, and refine details, something mobile apps struggle to match for complex projects.
- Precision Editing and Fine-Tuning: High-quality videos need precise editing. Desktop tools enable accurate frame cutting, perfect audio syncing, advanced color grading, and refined captions. While mobile apps are improving, PCs still deliver more precise, professional editing results.
- Optimal Resource Management: Modern editing demands significant memory to prevent crashes. A 2026 analysis notes that 32 GB of RAM is now the “sweet spot” for a smooth 4K editing experience. This capacity is standard in PCs but exceeds the physical hardware limits of almost all current smartphones and tablets.
How to Edit Videos on PC Using Klap
Klap works entirely in your browser. There's no software to install. If you have a long video, like a webinar or an interview, and you need to turn it into short, viral clips for TikTok or Reels, Klap is the most efficient PC-based solution.
Here's how to use it:
Step 1: Upload Your Video
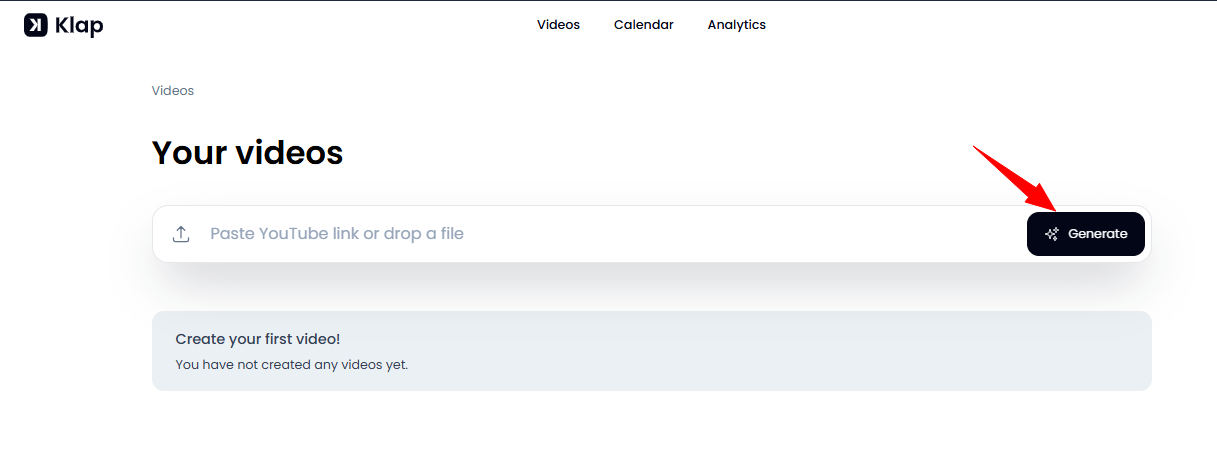
Go to klap.app and log in. From your dashboard, either paste a YouTube link or upload a video file directly.
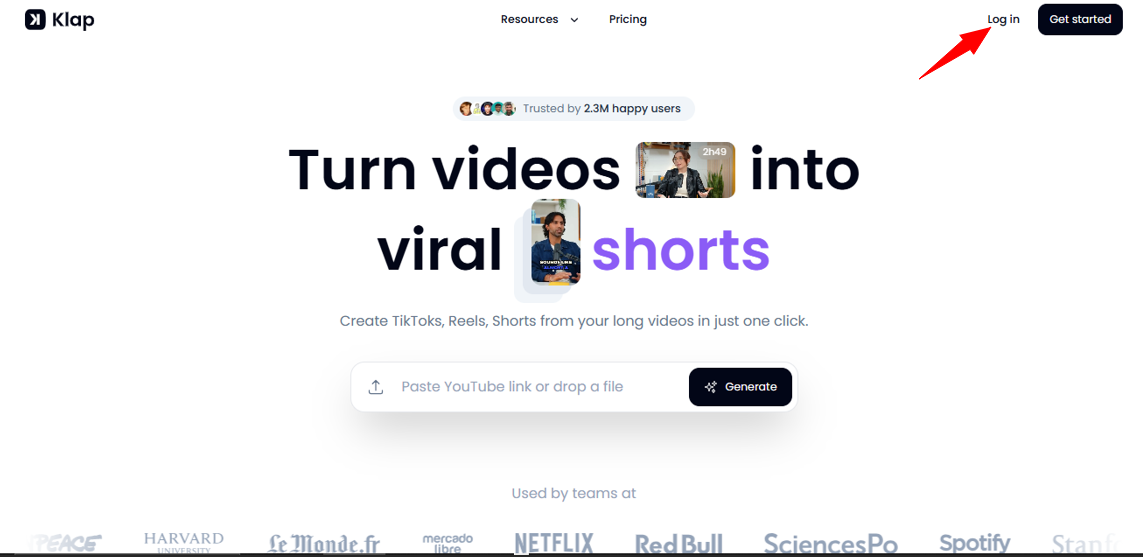
Click “Generate” to begin.
Step 2: Configure Your Settings
A settings panel appears before processing starts. You can do the following:
- Enable an intro title slide to give your clip an immediate hook.
- Turn on Captions to auto-generate subtitles.
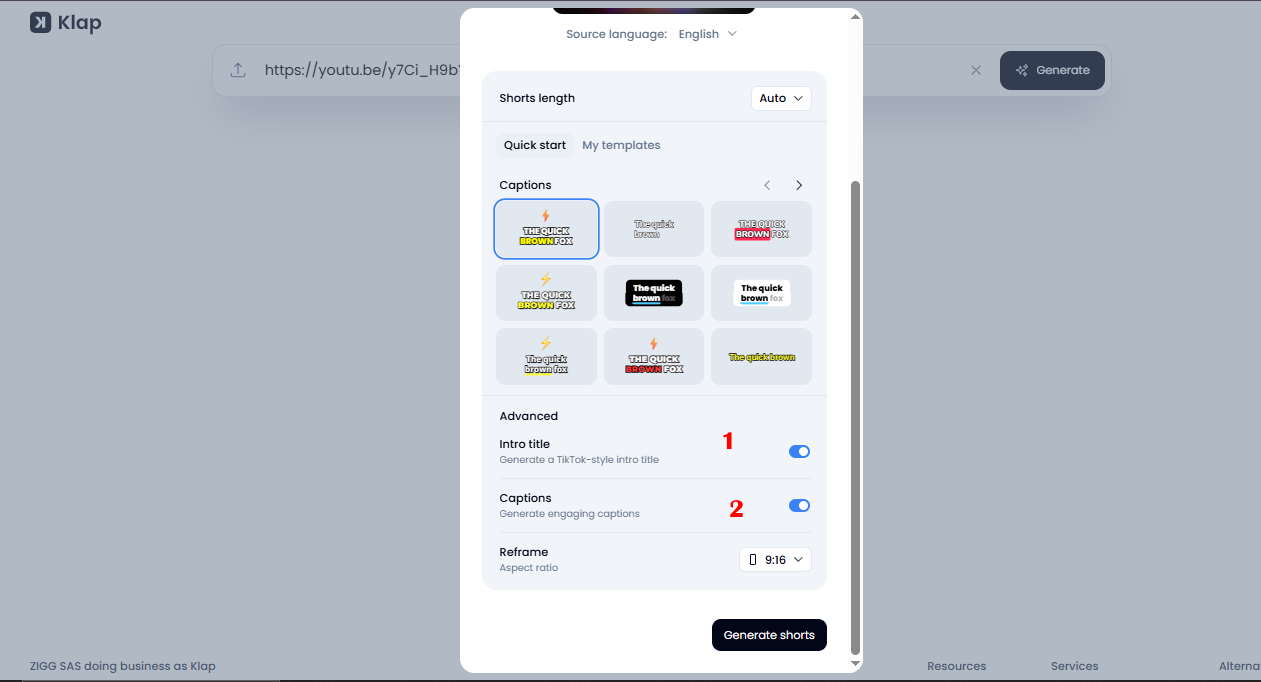
- Set the aspect ratio based on where you're publishing: 9:16 for TikTok or Reels, 16:9 for YouTube.

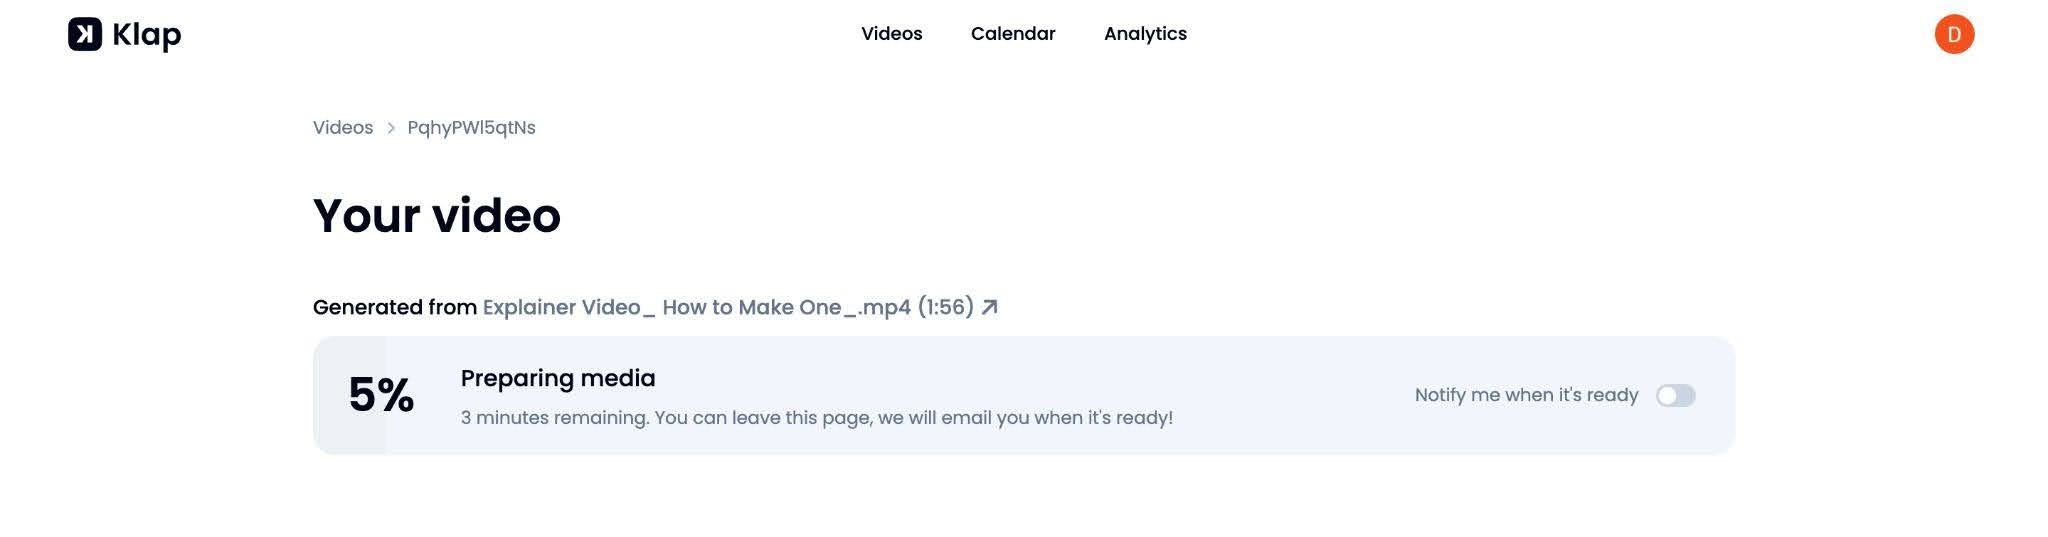
Step 3: Let the AI Edit
Klap analyzes the full video, identifies the most engaging segments, and produces edited clips automatically. This takes a few minutes, depending on video length. You can enable browser notifications so you don't have to wait on the page.
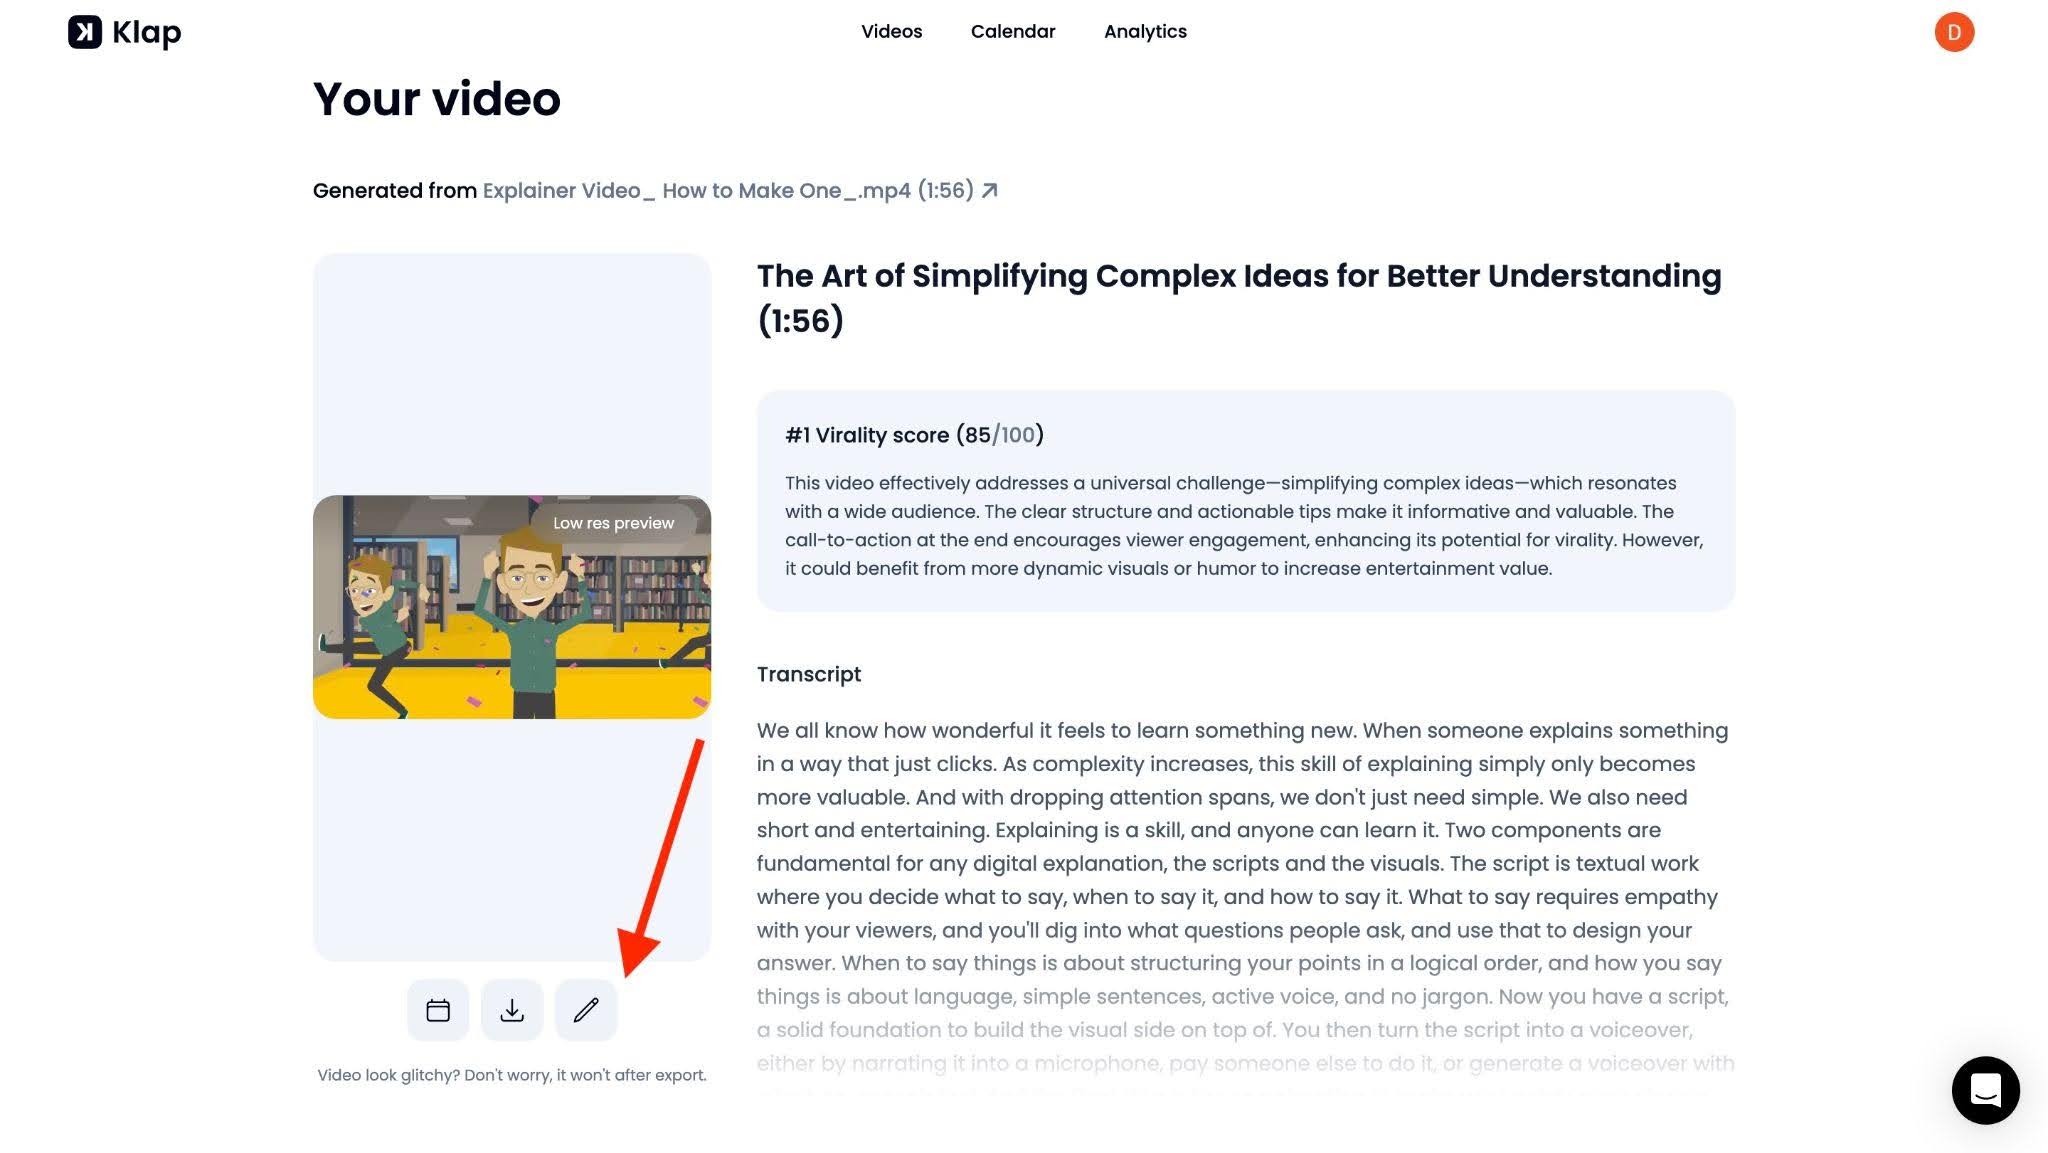
Step 4: Review Your Clips
Once processing finishes, you'll see a list of clips. Each clip has a virality score, a preview, and a transcript. The virality score gives you a quick signal of which clips are likely to perform best. Click the pencil icon to open the editor for any clip.
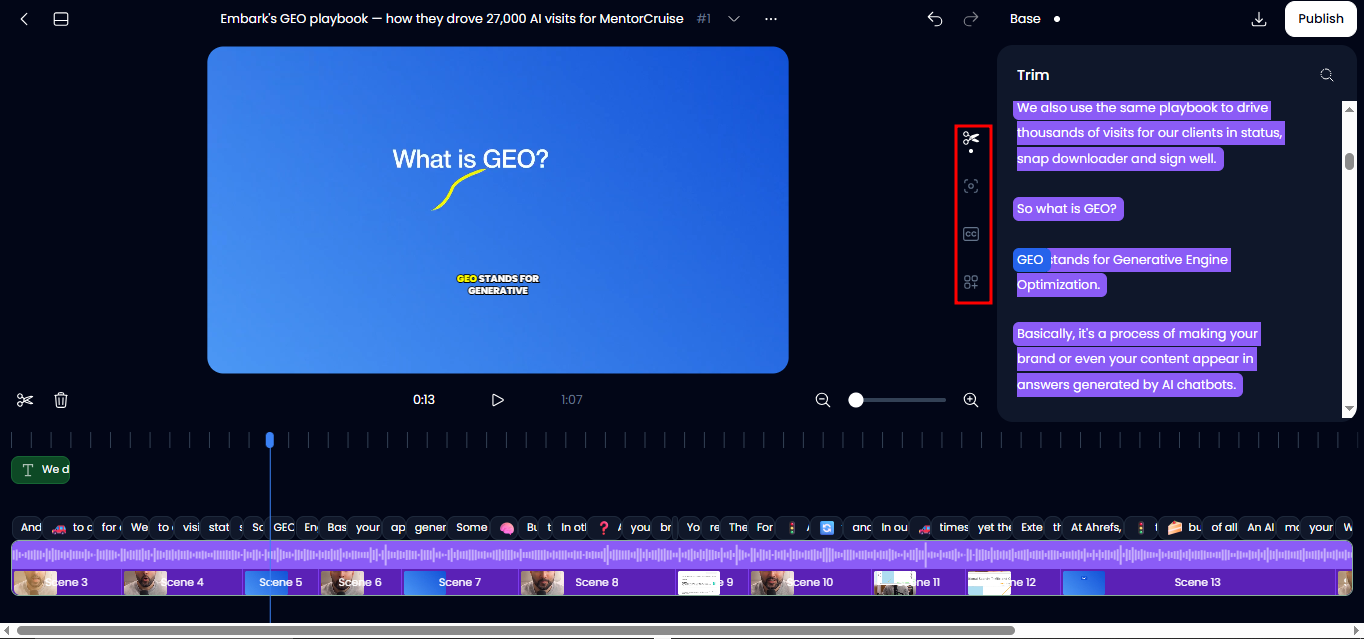
Step 5: Fine-Tune and Edit
Use the editor’s right-hand panel to refine your video. Follow the icons in order to move from a raw clip to a polished final edit:
- Trim: Perfect the start and end points to keep the content tight.
- Reframe: Adjust the crop focal point to keep the subject centered in any aspect ratio.
- Caption: Customize subtitle styles, fonts, and colors, and fix any transcription typos.
- Elements: Add your logo, title slides, or B-roll to increase production value.
Step 6: Download and Publish
When your edit is complete, you have two primary options to finalize your project:
- Download: Click the Download button to save the high-definition file (up to 1080p) directly to your PC. This is ideal if you want to perform further edits or keep a local archive.
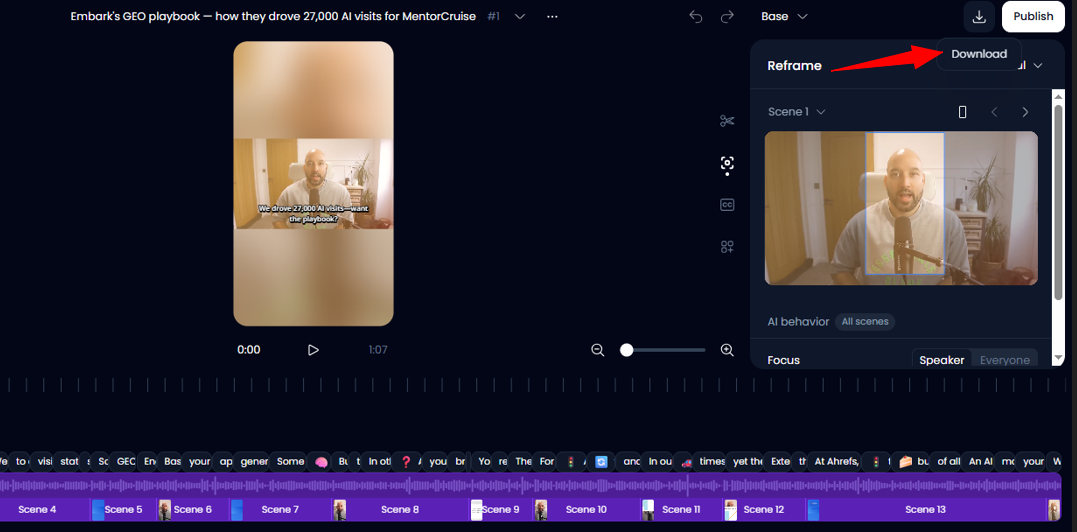
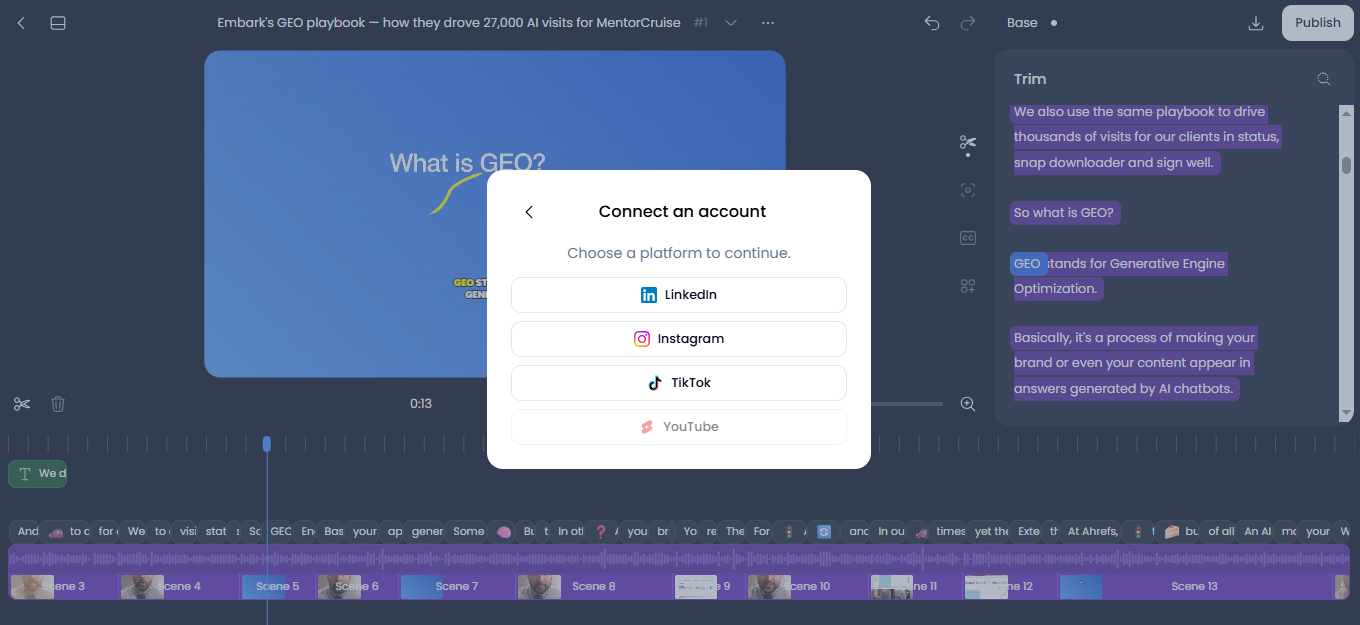
- Direct Publish: Link your social media accounts (TikTok, Reels, etc.) and publish directly from the Klap interface. Klap saves your settings as a preset so your next project is even faster.
How to Edit Videos on PC Using CapCut
CapCut is available as a web-based editor and as a desktop app. The desktop version offers more stability and faster performance for longer projects. Both are free for core features.
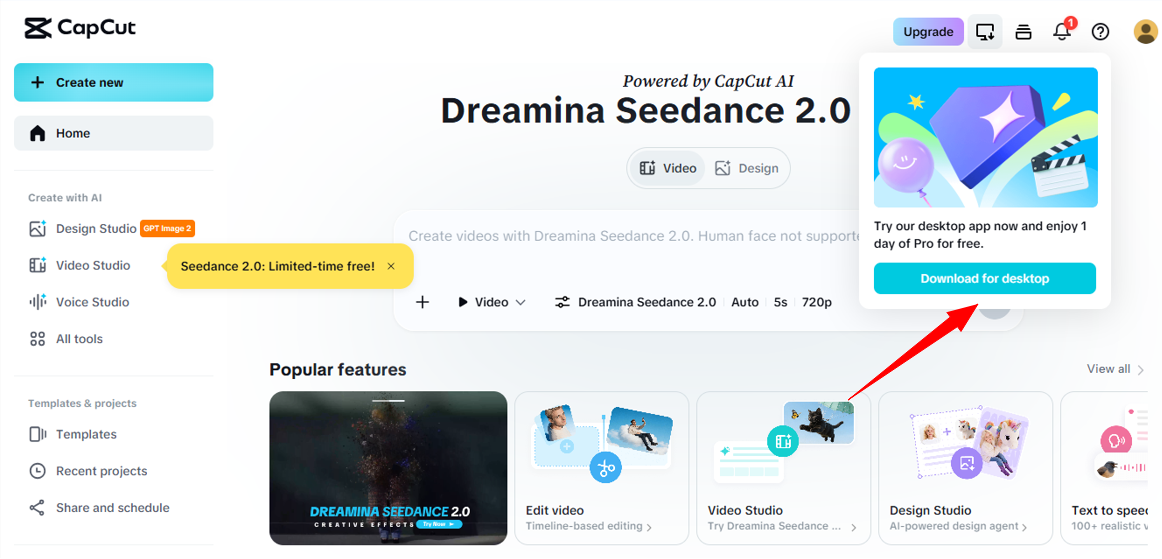
Step 1: Download and Open CapCut
Go to capcut.com to edit in your browser or download the CapCut Desktop App for Windows or macOS.
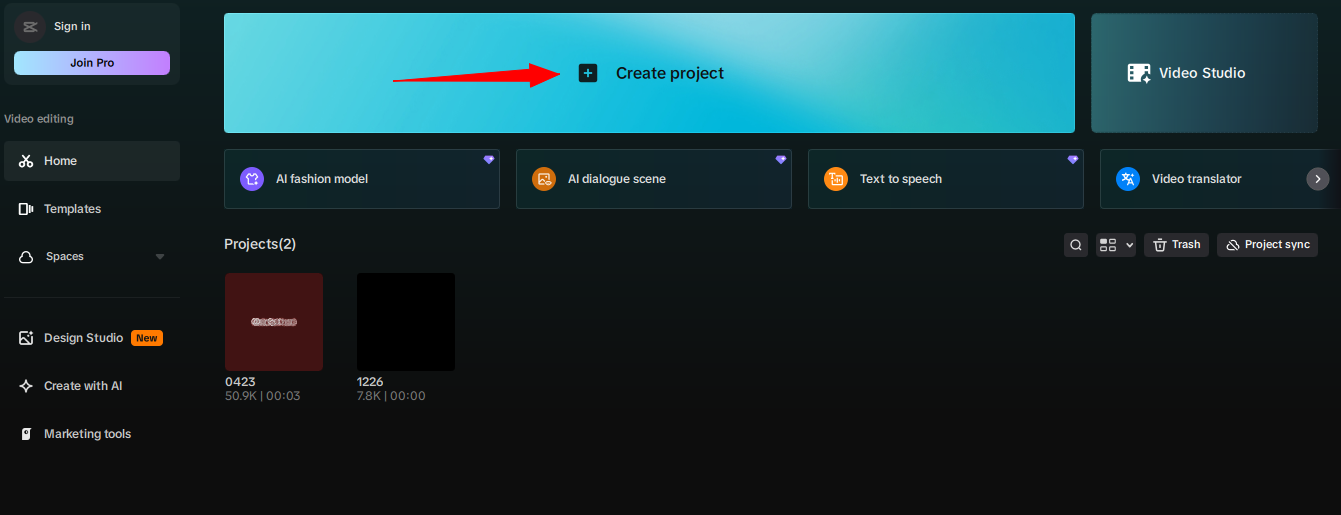
Step 2: Import Your Video
Click "Create Project." Import your video files by dragging them into the media panel or clicking the import button.

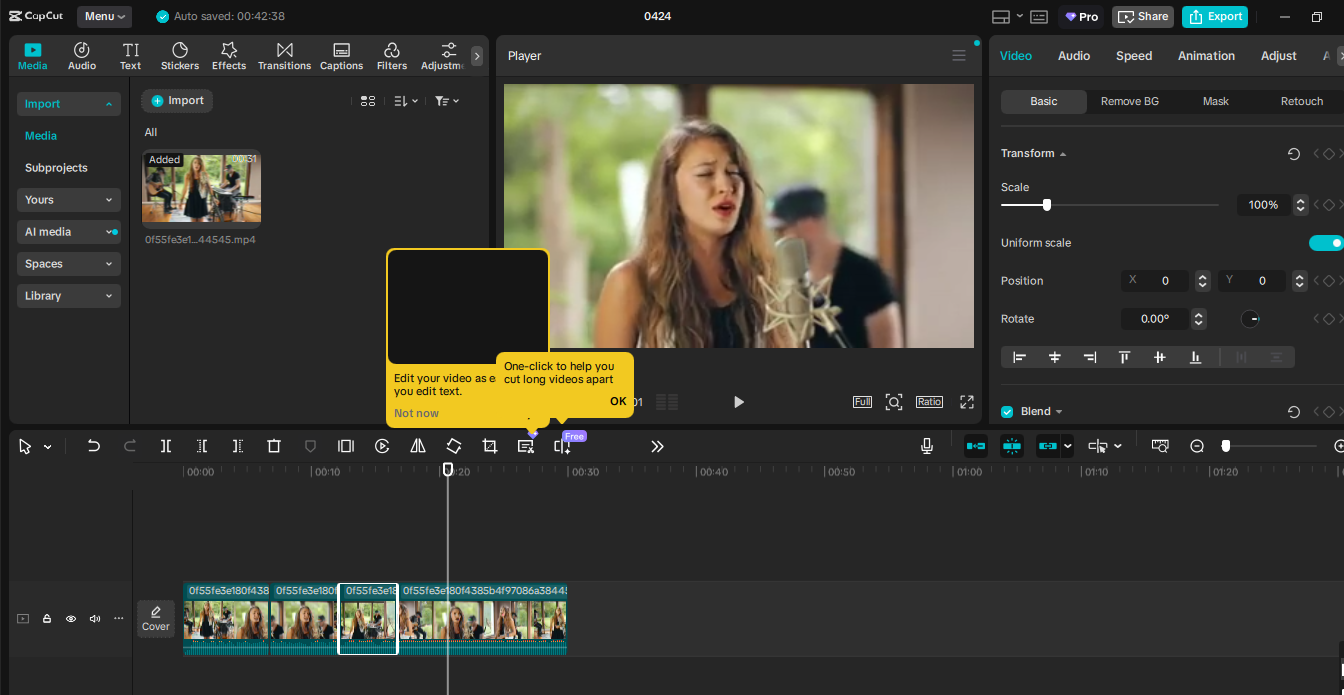
Step 3: Trim and Arrange Clips
Once imported, drag your clips down to the timeline at the bottom of the screen. From here, you can:
- Trim Clips: Click and drag the edges of a clip to shorten it.
- Split and Cut: Move the playhead and use Ctrl + B to cut. Use Q to delete everything to the left of the playhead or W for the right.
- Delete and Move: Select a clip and press Delete. CapCut’s magnetic timeline automatically closes the gap as you rearrange clips.
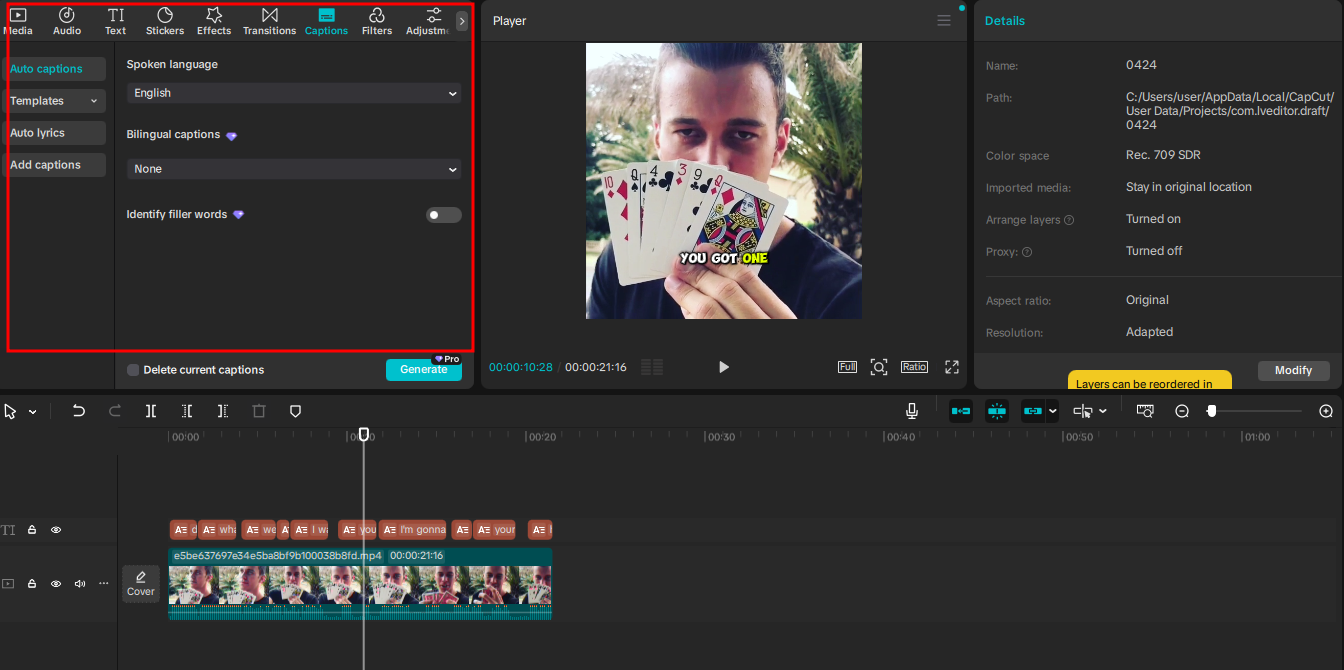
Step 4: Add Text and Captions
Go to the Text tab in the top toolbar. You can add manual captions, titles, or lower thirds. For automatic captions, select Auto Captions from the text panel. Choose your video’s language and click Create. CapCut will automatically generate and sync subtitles on your timeline.
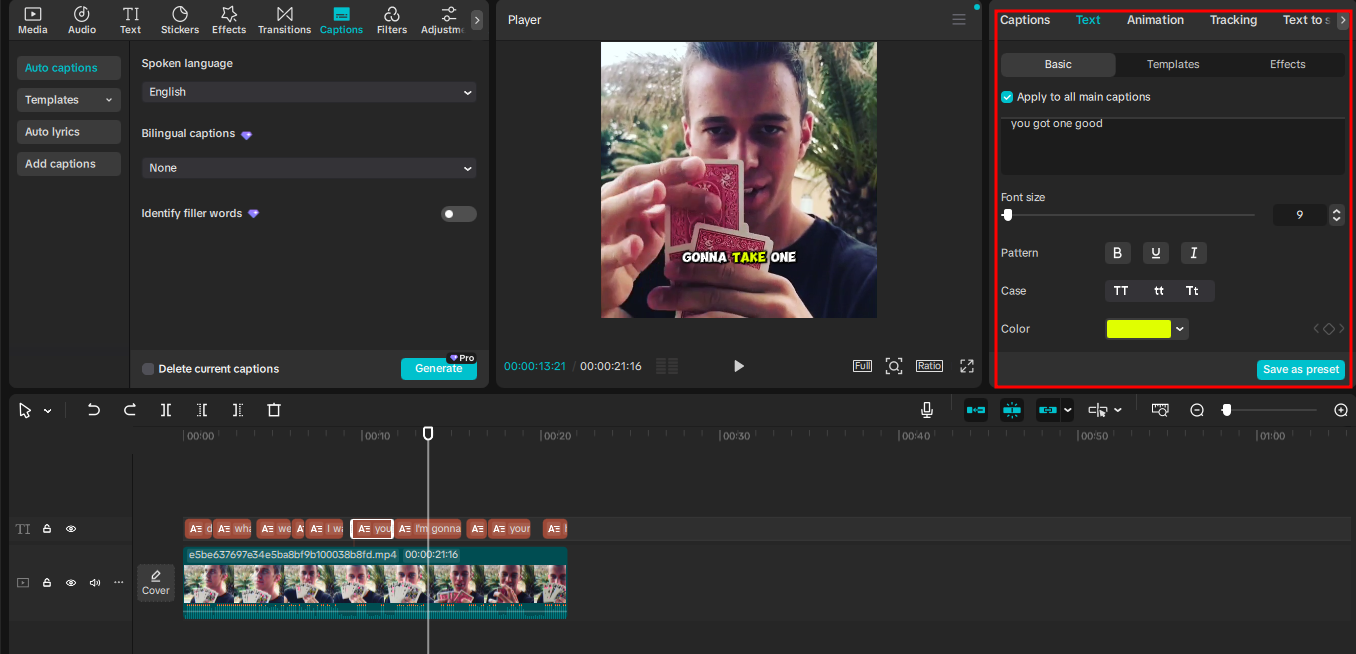
To edit and polish your captions:
- Correct Text: Click any caption block on the timeline. Edit the text directly in the Basic tab on the right panel.
- Style All at Once: Ensure “Apply to all” is checked in the styling panel. Change the font, size, color, or add a background box to ensure the text pops against bright scenes.
- Fix Timing: Drag the edges of a caption block on the timeline to change its duration or drag the entire block to shift its start time.
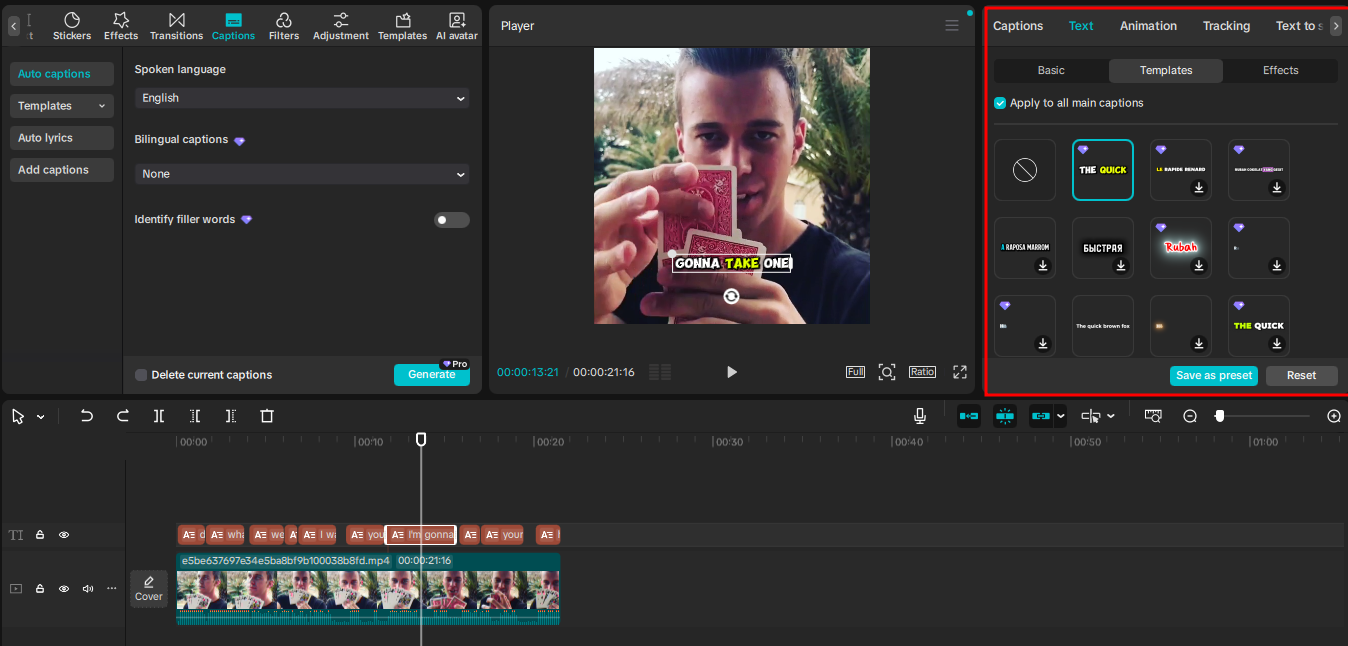
- Templates: Use the Captions templates to apply professional, animated styles with a single click.
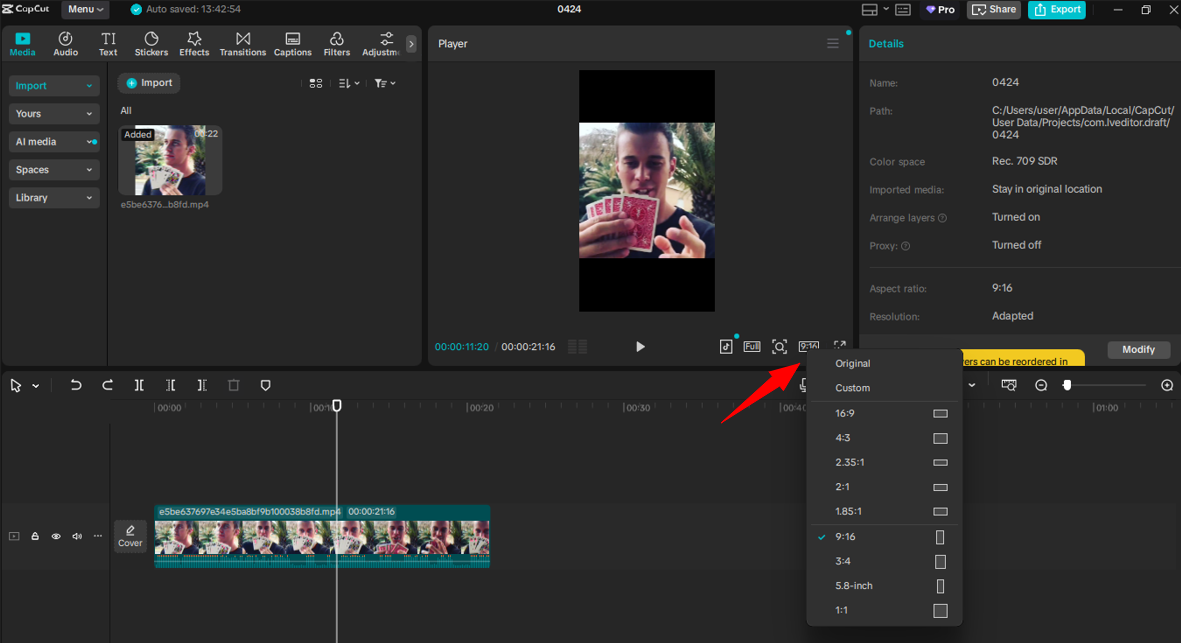
Step 5: Adjust the Aspect Ratio
If you're editing for TikTok or Reels, click the Ratio button under the preview player and select 9:16. Unlike Klap, you must manually reposition your clips here to ensure the subject stays centered in the vertical frame.
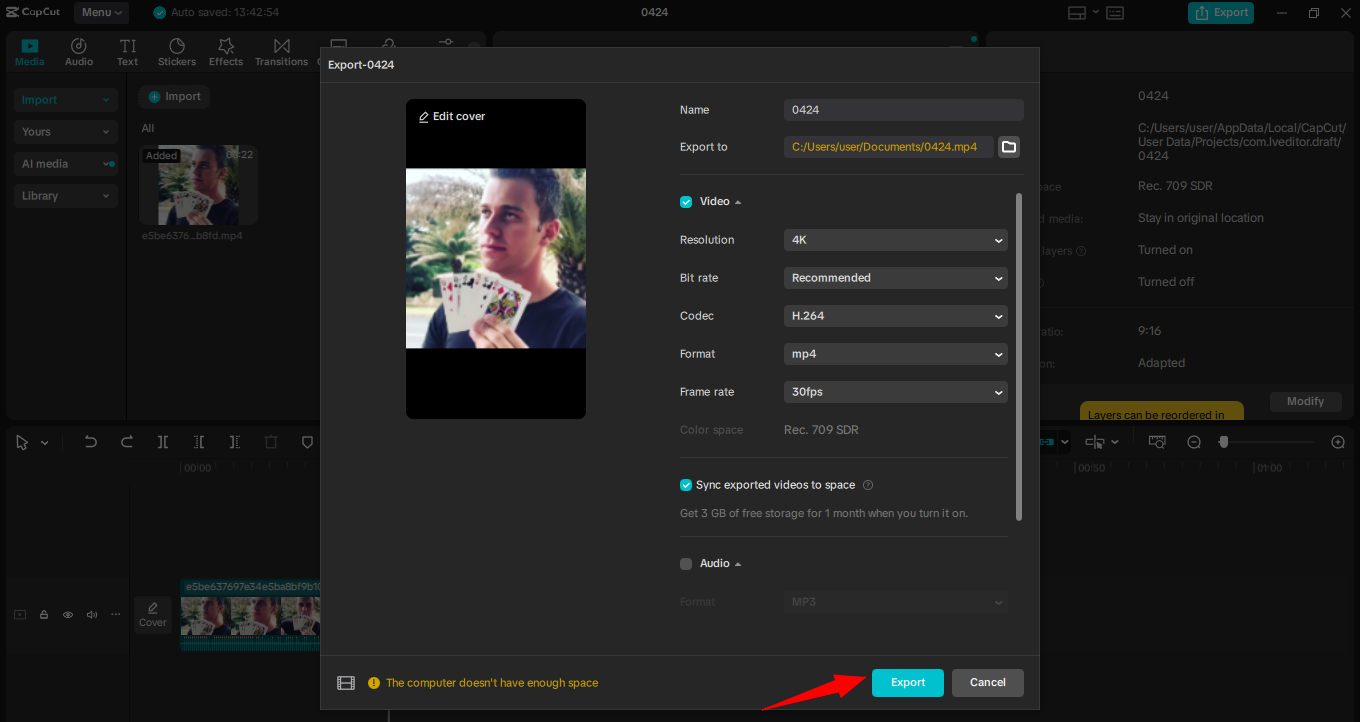
Step 6: Export Your Video
Click Export in the top right. Choose your resolution and frame rate. Hit Export again to save the file locally.
Best Practices for Editing Videos on PC More Efficiently
Work from a Script or Outline
Efficiency starts before you open your software. Knowing your hook and call to action prevents "editor’s block" and saves you from staring at a blank timeline. Preparing a rough shot list ensures you only record what you need, meaning you have far less junk footage to sift through during the final edit.
Master Your Keyboard Shortcuts
Speed is found in your hands rather than the menus. Using shortcuts keeps you in a productive flow state by reducing the cognitive load of searching for buttons. Commands like Ctrl+B for splitting and Q/W for ripple trimming can cut your rough-cut time by half compared to manual clicking
Target the Platform’s "Sweet Spot"
Short-form content performs best when it matches viewer expectations for length. Most successful TikToks and Reels run between 15 and 60 seconds. Shorter videos tend to have higher completion rates. For more guidance, read our article on how to make shorts that get noticed.
Perform a Caption Quality Pass
Since most viewers watch social videos without sound, your captions act as your primary script. Auto-captioning tools are fast but often struggle with technical jargon, brand names, or specific accents. A quick manual review pass ensures you don't publish typos that could damage your brand's professional image.
Use Optimized Export Settings
Exporting in 4K for social media often triggers aggressive platform compression that leads to pixelation. For the best results on TikTok and Instagram, use 1080p at 30fps with an H.264 codec. Reserve 4K exports specifically for YouTube or high-fidelity environments that can handle the larger bitrate.
Start Editing Smarter With Klap
If you're editing long-form video regularly, the biggest time sink isn't the cutting. It's finding the right moments, adjusting for vertical formats, and adding captions every single time. Klap automates those steps.
Upload any long video, and Klap produces edited, captioned, and reframed clips ready to publish. No timeline scrubbing required.
