Edit YouTube Shorts Like a Pro with Adobe Rush
Jan 23, 2024
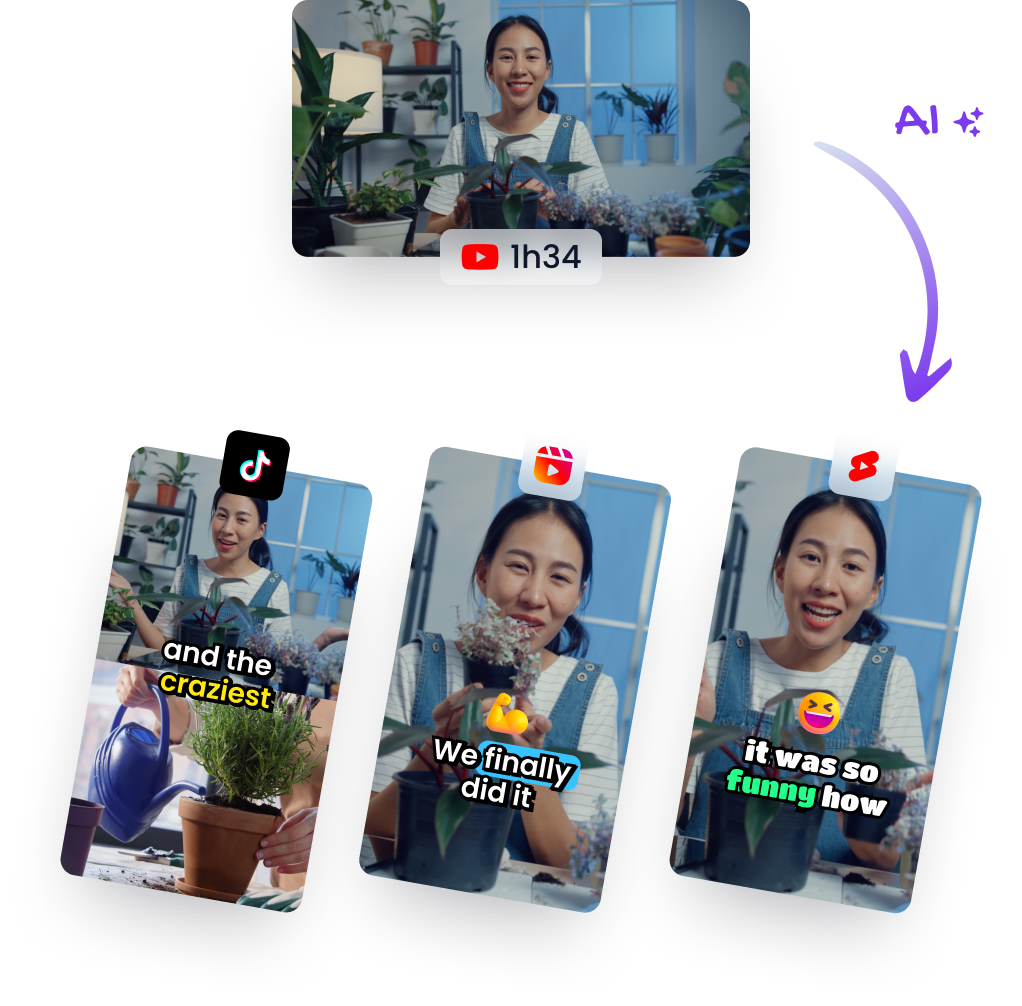
Video EditingTLDR: Watch the AI-generated short
Creating engaging and high-quality YouTube shorts can significantly enhance your online presence. With the rise of short-form content, having the right editing tools and techniques is more important than ever. In this article, we'll explore how to edit your YouTube shorts using Adobe Rush—an intuitive software that simplifies video editing for creators of all levels.
Starting Your Project in Adobe Rush
First things first, let's dive into starting a new project on Adobe Rush. Upon launching the application, you'll be greeted with an option to create a new project. This is where your journey begins:
- Select 'Create a New Project.'
- Opt for 'Import from Videos' (assuming you're not working with photos).
- Browse through your files and select the clips intended for your short.
- Remember to import them chronologically by clicking each clip in sequence—this will save time rearranging later.
Choose clips carefully; these are building blocks of your story!
Organizing Your Clips
Once imported, ensure they appear on the timeline in order:
- First: Top-right clip
- Second: Bottom clip
- Followed by subsequent selections according to their narrative importance.
Before moving forward, give your project a descriptive name like "Short," which helps keep things organized especially when juggling multiple projects.
Managing Audio Tracks
Audio plays an essential role in storytelling and setting mood within videos:
- If retaining original audio isn't part of your plan (as it often isn’t), simply remove it from each clip.
- Alternatively, incorporate music or record voiceovers as needed.
Remember that adding voiceovers can lend personalization and clarity if done correctly!
Fine-Tuning Your Timeline View
A pro tip for efficient editing — expand the timeline:
By clicking on the icon at bottom left corner:
- This provides better visibility over all elements.
- Meticulously trim or extend scenes without hassle.
An expanded view allows precise adjustments so every second counts towards impactful storytelling.
Practical Takeaways
In conclusion, here’s what you need to remember when using Adobe Rush for crafting eye-catching YouTube shorts:
- Project Initialization: Start by creating a new project and importing footage sequentially.
- Clip Organization: Keep clips chronological—it streamlines workflow!
- Audio Management: Decide whether original audio stays or goes—are you opting for background music or narrations?
- Timeline Optimization: Expand timeline views; precision edits make perfection possible.
Whether you’re stepping into digital storytelling or already spinning narratives like a seasoned professional—the goal remains clear-cut: captivate audiences with quality content nimbly edited via user-friendly platforms like Adobe Rush!