How to Edit YouTube Shorts for Viral Growth
Other
You've got a few options when it comes to editing YouTube Shorts. You can do it right inside the YouTube app for quick, on-the-fly posts, jump over to desktop software for more creative firepower, or use slick AI tools to automatically find and clip the best moments from your long-form videos.
Figuring out how to edit YouTube Shorts isn't just a technical skill anymore; it's about crafting a story that grabs viewers from the very first second. This guide will walk you through each method, giving you actionable steps to create awesome content, no matter your skill level.
Why Your YouTube Shorts Editing Matters
Welcome to the fast-paced world of YouTube Shorts, where storytelling is measured in seconds and viewer attention is the ultimate currency. If you want to grow your channel, solid editing is your best friend. This isn’t just about trimming clips—it’s about building a narrative that hooks viewers instantly and convinces them to keep watching.
The platform's growth has been absolutely explosive. Since its launch, daily views have skyrocketed from a respectable 3.5 billion to over 70 billion. That's a mind-boggling jump.
With over 2 billion logged-in users now watching Shorts every month, creators who nail their editing are in the perfect spot to boost engagement and find a bigger audience. If you're interested in diving deeper into these trends, AffiliateBooster.com offers some great insights.
Three Core Paths to Editing YouTube Shorts
To help you decide where to start, here's a breakdown of the three main editing workflows. Each one has its own strengths, so you can pick the path that best fits your content and schedule.
Editing MethodBest ForKey Advantage
YouTube App Editor
Quick, spontaneous, and trend-based content filmed on your phone.
Speed and convenience—edit and upload from anywhere in minutes.
Desktop Software
Polished, brand-focused, or narrative-driven content.
Maximum creative control over visuals, audio, and effects.
AI Repurposing Tools
Creators turning long-form videos (podcasts, tutorials) into Shorts.
Incredible efficiency and scalability, saving hours of manual work.
This table gives you a quick snapshot, but let's look at why choosing the right path is so important for your workflow.
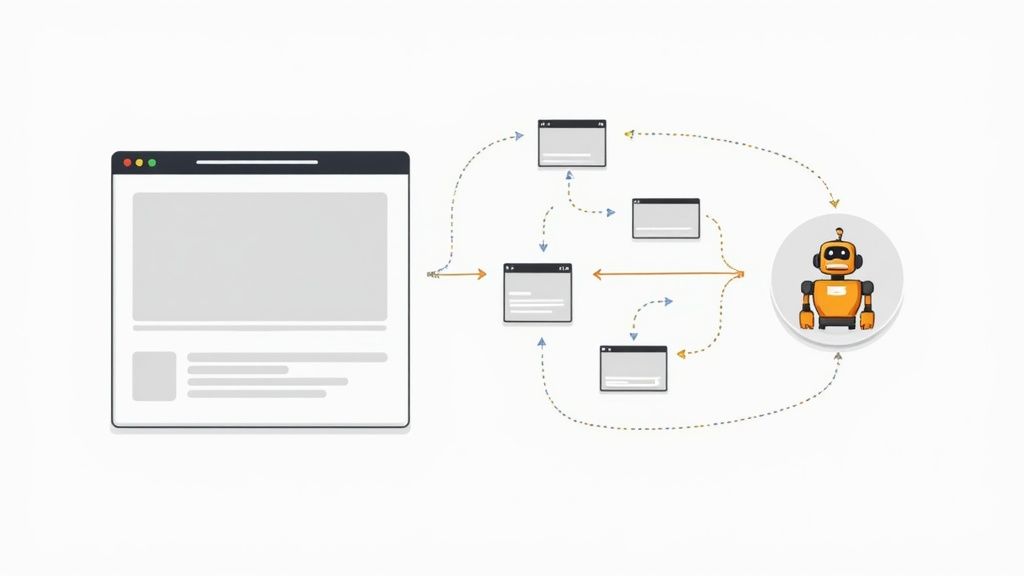
This infographic breaks it down visually, showing you the main routes you can take.
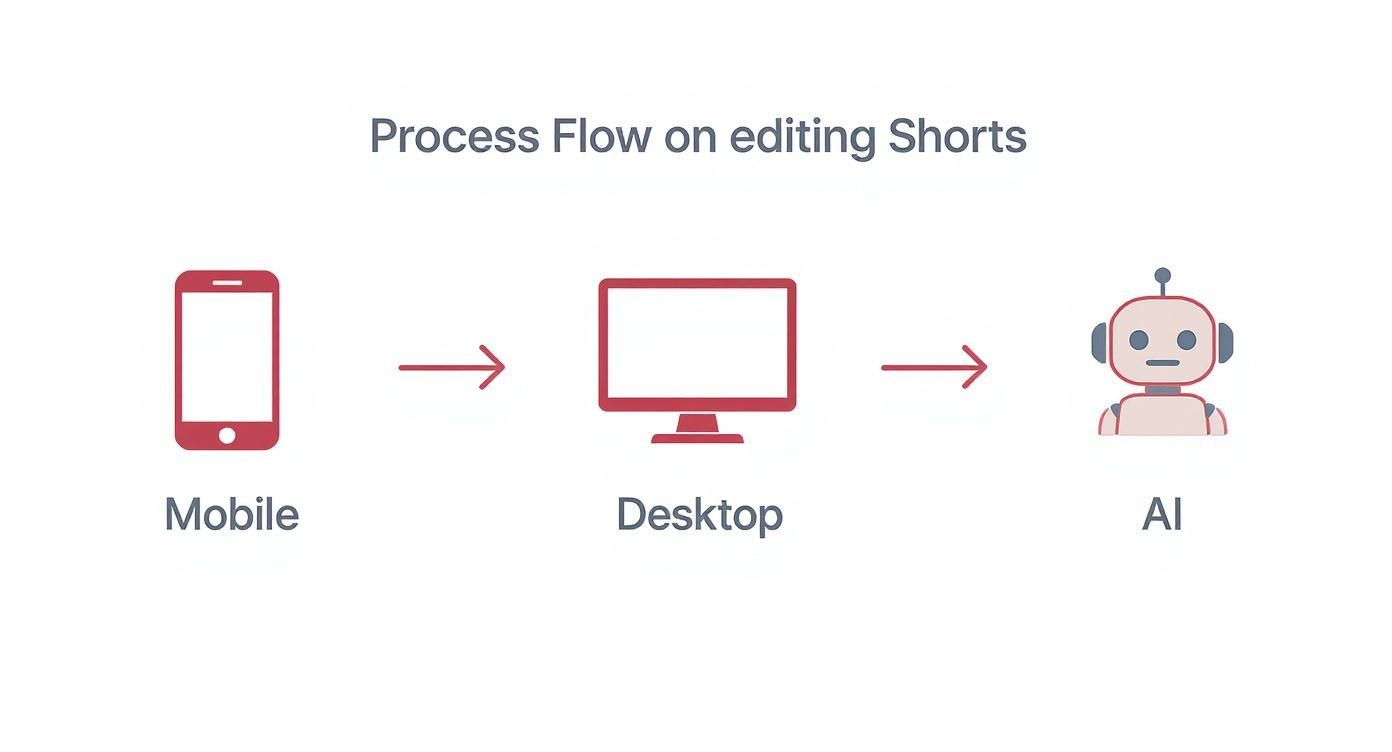
As you can see, whether you're editing on the go with your phone, sitting at your desk with powerful software, or letting an AI do the heavy lifting, there's a solid path to creating great Shorts.
Choosing Your Starting Point
The editing method you pick directly impacts your speed, creative freedom, and how much content you can realistically produce.
A creator filming a quick dance trend will naturally lean on the convenience of the mobile app. On the other hand, a brand slicing up a one-hour webinar for Shorts will get far more mileage out of a precise desktop editor or a speedy AI tool like Klap.
The goal isn't just to make a video; it's to make a video that feels native to the Shorts feed—fast-paced, engaging, and instantly understandable. Your editing choices are what make that happen.
Just think about the environment your content lives in. The Shorts feed is an endless scroll of videos all fighting for a sliver of attention.
This screenshot says it all. Your video has to be compelling enough to stop someone mid-swipe. That comes down to a strong hook and dynamic edits that keep their eyes glued to the screen.
Mastering the YouTube Shorts Mobile Editor
For creators on the move, the native YouTube mobile app is a surprisingly nimble tool for editing Shorts. It’s built for speed, letting you capture a moment, throw in some quick edits, and get it published in minutes. This is the perfect workflow for jumping on trends, shooting spontaneous vlogs, or dropping quick reaction clips when timing is everything.
You can either shoot clips right inside the app or pull existing footage from your phone’s camera roll. If you've already got a library of content, our guide on how to create YouTube Shorts from existing video is a great resource for repurposing. Either way, you'll land on the same intuitive editing timeline where the real work begins.
Navigating the Core Editing Features
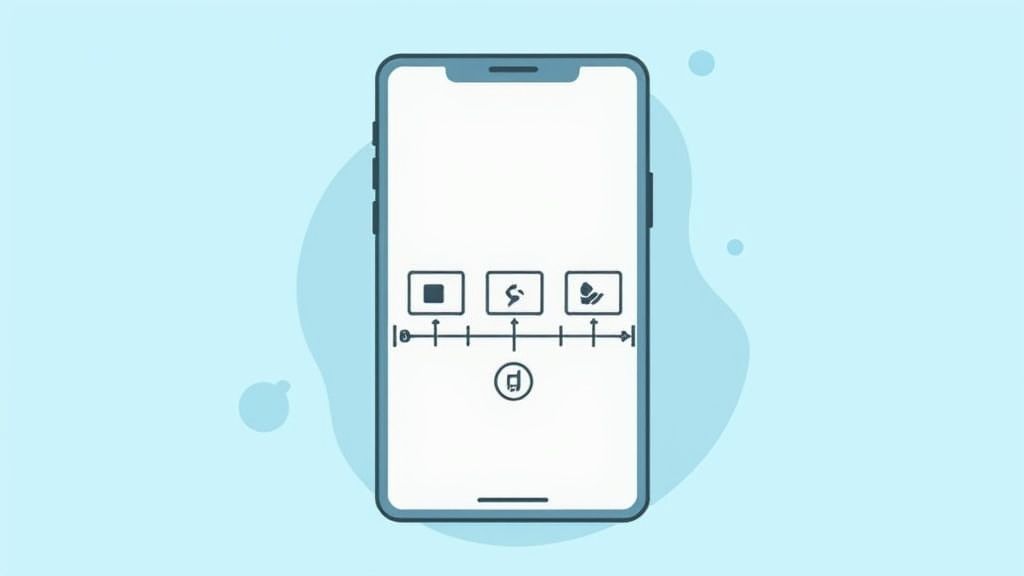
Once your clips are loaded, the Shorts editor gives you a simple but effective set of tools to piece your story together. Think of it as a pocket-sized editing suite designed from the ground up for vertical video. The timeline view lets you visually arrange everything, making it easy to see how your Short flows.
Here are the three tools you'll be using constantly:
- Trim: This will be your best friend. It lets you snip the beginning or end of a clip, making sure you only keep the most engaging bits. We know the first 1-2 seconds are make-or-break for holding a viewer's attention, so a tight trim is non-negotiable.
- Split: Need to cut out a mistake or a boring pause in the middle of a clip? The split tool slices it into two separate pieces. From there, you can trim or delete each part on its own.
- Reorder: This is as simple as it sounds. Just tap and hold any clip on the timeline and drag it to a new spot. It’s a crucial feature for getting your pacing right and telling a story that makes sense.
Getting comfortable with these three functions is the foundation of any good edit. Once you master them, you can assemble a clean, snappy video right on your phone without ever needing to open a laptop.
Actionable Tip: Before you add text or music, watch your edited Short back a few times. Getting the visual foundation solid first makes the final polishing stages way more effective and saves you from having to undo work later.
Adding Creative Layers with Sound and Visuals
A silent Short is a missed opportunity. One of the biggest advantages of the mobile editor is direct access to YouTube’s massive audio library. Adding a trending sound is one of the easiest ways to give your video a visibility boost, as the algorithm often favors content using popular audio.
But don't stop at music. You can add other layers to make your content pop:
- Filters and Effects: These are a quick way to set a mood. A vintage filter on a nostalgic clip or a vibrant one on a travel montage instantly communicates a specific vibe to your audience.
- Timed Text: Don’t just slap text on the screen—make it dynamic. The editor lets you control exactly when text appears and disappears. For a three-step tutorial, have each instruction pop up precisely when you’re demonstrating it.
- Voiceover: You can record your own audio directly over your video. This is perfect for adding commentary, telling a story, or giving context to what’s happening on screen. It’s a great way to add a personal touch.
Think about a quick "Get Ready With Me" video. You could trim clips of each step, drop in a trending pop song, use timed text to list the products you're using, and apply a soft filter for a polished look—all in just a few minutes. This is a perfect example of how capable the mobile editor is for producing high-quality, engaging content without ever touching a computer.
Applying Advanced Editing Techniques for Standout Shorts
This is where you graduate from the basics. Moving beyond simple trims and filters is how you turn a decent Short into one that people actually remember and share.
We're not talking about cheesy, over-the-top effects. True advanced editing is about the subtle, professional touches that glue your story together, control the pace, and land emotional beats. It’s what makes a 30-second clip feel like a high-quality production.
To really pull these off, you'll want to step up your toolkit. Think powerful mobile apps like CapCut or full-blown desktop software like DaVinci Resolve or Adobe Premiere Pro. The software doesn't matter as much as the principles, though.
Crafting Seamless Audio with J-Cuts and L-Cuts
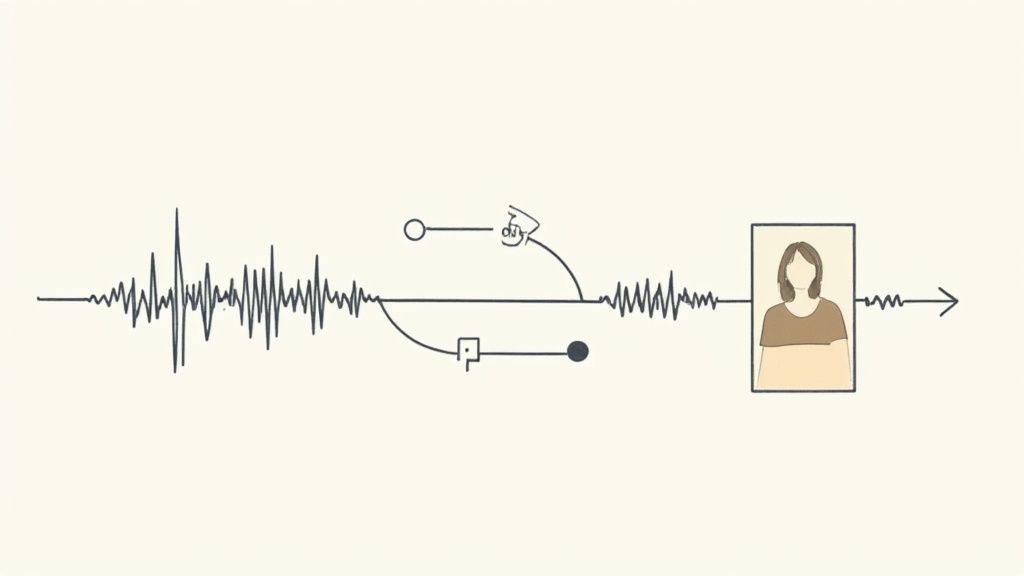
Ever watch a video where the audio from the next scene creeps in just a second before the visuals cut? That's a J-cut. It pulls the viewer into the next shot before they even see it. The opposite is an L-cut, where the video changes but the audio from the previous scene hangs on for a moment.
Filmmakers live by these techniques for a reason: they make edits feel buttery smooth instead of jarring and robotic.
- J-Cut in Action: Imagine a cooking Short. We see a close-up of ingredients on a cutting board. Just before the video cuts to the mixing bowl, we hear the whir of the electric mixer starting up. This audio cue primes the viewer for what's coming next.
- L-Cut in Action: You're filming a travel vlog, talking to the camera about an incredible viewpoint. You cut to a gorgeous B-roll shot of the scenery, but your voice from the previous clip continues over it for a few seconds, connecting your words directly to the visuals.
It's a subtle change, but using J-cuts and L-cuts will instantly make your Shorts feel more cohesive and professional.
Manipulating Time with Speed Ramping
Let's be honest, static shots are death in the Shorts feed. Speed ramping is your secret weapon against boredom. It's the technique of dynamically speeding up and slowing down a single clip to create drama and focus.
Think about a workout video. You could slow down the clip to emphasize perfect form on a deadlift, then immediately speed up through the next few reps to keep the energy high. Or in a DIY short, you might fast-forward through the boring sanding part and then slow it right down for the satisfying paint reveal.
A well-placed speed ramp does more than just look cool—it controls the video's rhythm. It tells the viewer, "Pay attention now, this is the important part," without needing a single word of text.
Advanced Audio Mixing and Sound Design
On Shorts, great audio is just as important as the visuals, especially since a reported 65% of consumers watch videos with sound on via mobile. Advanced audio isn't just about slapping a trending song in the background; it's about building a rich soundscape that pulls people in.
Here's what that actually looks like in practice:
- Balancing Your Levels: The main audio—whether it's your voice or key dialogue—needs to be crystal clear. Background music should support the vibe, not fight for attention. Actionable Insight: As a starting point, lower your music track's volume by -15 to -20 dB whenever someone is talking.
- Adding Sound Effects (SFX): This is what separates the pros from the amateurs. A tiny "swoosh" effect on a fast transition, a "pop" when text appears, or even subtle ambient sounds like birds chirping can add an incredible layer of polish.
- Using Audio Ducking: Most serious editing software has an "auto-ducking" feature. This is a lifesaver. It automatically lowers the background music volume when it detects a voiceover and then brings it back up when the talking stops.
Get the audio mix right, and your Shorts will feel immersive and professionally produced, not just like another random clip.
Smart Reframing for Vertical Video
Here’s a common problem: your best footage was shot for a horizontal, long-form video. Just punching in on the center of the frame and calling it a day is lazy and usually looks terrible.
Smart reframing is the art of actively repositioning that horizontal footage within the 9:16 vertical frame to keep the action front and center.
For example, if you're clipping a podcast with two people talking, you can't just stick the camera in the middle. You need to create camera motion, "panning" the frame to focus on whoever is speaking at that moment. Many modern editors have AI-powered features that can automatically track the speaker or subject for you, which makes this process way easier. The goal is to make sure the viewer never misses the important stuff, no matter how much the subject moves.
Optimizing Your Shorts Before You Hit Publish
A brilliant edit can fall flat if nobody sees it. The final steps you take right before your Short goes live are just as crucial as the editing itself. This is your chance to give the YouTube algorithm clear, strong signals about what your content is and who it's for.
Think of it as the pre-flight check for your content. It's a series of small but powerful tweaks that prime your video for discoverability and engagement from the second you hit publish.
Crafting a Title and Hashtag Strategy
Your title is the hook that grabs viewers scrolling the Shorts shelf. It needs to be short, punchy, and make people curious. Forget the long, keyword-stuffed titles from traditional YouTube—you have just seconds to make an impact here.
For instance, "How I fixed my squeaky door" is okay. But "This one trick silenced my door forever" is way more compelling because it promises a valuable, permanent solution.
Hashtags are also a huge part of the discoverability puzzle. Here’s a simple strategy that works:
- The Non-Negotiable: Always include #shorts in your title or description. This is the main signal telling YouTube that your video is, in fact, a Short.
- Broad Topic Tags: Add one or two hashtags that define your general niche, like #DIY, #TechTips, or #BookReview.
- Specific Content Tags: Get granular with one or two tags that describe the video's actual content, like #DoorHingeFix, #iPhone15Pro, or #FantasyReads.
This mix helps the algorithm categorize your video and serve it to the right audience.
Selecting a Captivating Thumbnail Frame
Unlike long-form videos, you can't upload a custom thumbnail for your Shorts. Instead, YouTube lets you pick a single frame from your video to act as its cover. This one choice is your video’s first impression and can make or break a viewer’s decision to watch.
As you're uploading, scrub through your video and hunt for a frame that's clear, high-energy, and visually intriguing. The best ones often capture peak action, a surprising reaction, or a satisfying "after" shot in a transformation video. Steer clear of blurry frames or moments where nothing interesting is happening.
Actionable Tip: Your chosen thumbnail frame and title need to work together. They should create a compelling question in the viewer's mind that can only be answered by watching your video.
Adding Clear and Readable Captions
A huge portion of Shorts are watched with the sound off. If your video has any talking, captions aren't just a nice-to-have—they're essential for keeping people watching. While auto-captions are a good starting point, you absolutely must check that they are 100% accurate and easy to read.
Readability is everything. Pick a bold, clean font and use a contrasting background or outline to make the text pop against any part of your video. For a detailed guide on nailing this, check out our post on how to add captions to YouTube Shorts: https://klap.app/blog/how-to-add-captions-to-youtube-shorts.
Your Pre-Publish Checklist
Before you finally unleash your video, run through this quick checklist. Getting these settings right ensures your video is set up for success and helps you avoid common pitfalls.
- Audience Setting: Always set your video to "No, it's not made for kids" unless it’s specifically and exclusively for children. This opens up features like comments and ensures it can reach a broader adult audience.
- Visibility: If you aren't posting immediately, schedule your Short for a time when your audience is most active. You can find this data right inside your YouTube Analytics.
- Related Video: If the Short is a teaser for one of your long-form videos, use the "Related Video" feature to link directly to it. This creates a powerful funnel to drive viewers to your other content.
While most Shorts are under a minute, data shows that length can significantly impact viewership. Research indicates that while 28.8% of Shorts fall into the 30-40 second range, those lasting 50-60 seconds can average 4.1 million views, suggesting viewers reward well-paced, slightly longer stories. To make sure your Shorts don't just look good but also perform, explore these essential YouTube Shorts best practices.
Using AI Editing Tools to Create Shorts Faster
https://www.youtube.com/embed/mrCqH_3E5fE
Imagine turning a single 20-minute podcast episode into a dozen high-impact, perfectly edited Shorts in just a few minutes. That’s not a far-off dream; it's the reality of AI-powered video editing. For busy creators, this approach is a total game-changer, finally solving the relentless demand for consistent content.
These tools are built to do the heavy lifting. Instead of you manually scrubbing through hours of footage to find the best moments, the AI analyzes the entire video. It identifies the most engaging hooks, viral-worthy soundbites, and key topics on its own.
From there, it automatically reframes horizontal video into a vertical format, adds dynamic captions, and presents you with a collection of ready-to-post clips. This completely changes the math for content production, letting you multiply your output without multiplying your workload.
How AI Editors Find the Best Moments
The magic behind tools like Klap, Opus Clip, and Vidyo.ai lies in their sophisticated algorithms. They don't just randomly chop up your video; they analyze the transcript, vocal tone, and even facial cues to pinpoint segments with the highest potential for engagement.
Here’s a quick look at their process:
- Topic Detection: The AI identifies distinct topics discussed in your video, allowing it to create self-contained clips that make perfect sense on their own.
- Virality Scoring: Many platforms assign a "virality score" to each generated clip, predicting its potential performance based on factors like pacing, keywords, and emotional intensity.
- Smart Reframing: The AI automatically keeps the speaker's face in the frame, creating dynamic camera motion even from a static, single-camera recording. This makes the final clip feel much more professional.
For creators looking to streamline their production, you can revolutionize your YouTube Shorts with AI video generators and get back to focusing on what you do best: creating great long-form content.
A Real-World AI Editing Workflow
Let's walk through a common scenario. You’ve just finished recording a one-hour interview for your YouTube channel. Manually editing that down to even a few Shorts could take hours.
With an AI Shorts maker, the workflow is incredibly simple. You either upload your video file or just paste the YouTube link. The AI gets to work, and within about 10-15 minutes, it presents you with a list of 10-20 potential Shorts. All you have to do is review each clip, make minor tweaks to the captions or timing, and download the ones you like.
The core benefit here is a shift from editor to curator. Instead of spending your time on tedious cuts and keyframes, you're using your creative judgment to select the best clips the AI has already prepared for you.
This efficiency is crucial because the vast majority of your audience is on mobile. In fact, mobile devices now account for over 70% of YouTube watch time. With 55% of daily active YouTube users engaging with Shorts, optimizing for vertical viewing isn't just a suggestion—it's a requirement for growth. By automating the technical side of editing, you can focus on creating content that resonates with this massive mobile-first audience.
By adopting an AI-driven process, a creator can easily turn that single one-hour interview into a week's worth of Shorts, populating their content calendar and driving viewers back to the full-length video with minimal effort.
Comparing Popular AI Shorts Editing Tools
With so many AI tools flooding the market, picking the right one can feel overwhelming. Each has its own strengths, whether it's the sophistication of its AI, the quality of its captions, or its pricing model. This table breaks down some of the leading options to help you decide which one best fits your workflow.
AI ToolKey FeaturePricing ModelIdeal For
Klap
Advanced topic detection and virality scoring to find the most engaging clips.
Freemium with tiered paid plans.
Creators who want high-quality, data-driven clip suggestions from podcasts and interviews.
Opus Clip
"AI Curation" feature that identifies hooks and arranges clips into a cohesive narrative.
Credit-based system with a free trial and monthly subscriptions.
Podcasters and commentators who need clips that tell a mini-story on their own.
Vidyo.ai
Offers templates, social media scheduling, and branding customization.
Freemium model with limits on video length and uploads.
Brands and marketers who need a comprehensive solution for repurposing and distribution.
VEED.io
A full-featured online video editor with AI-powered clipping tools built-in.
Free tier with watermarks; paid plans for more features.
Creators who want both AI-assisted clipping and manual editing control in one place.
Ultimately, the best tool is the one that slots most seamlessly into your existing process. Don't be afraid to use the free trials for each to see which one delivers the best results for your specific style of content.
Your YouTube Shorts Editing Questions Answered
As you start editing Shorts, a few common questions always seem to pop up. Nailing down the answers to these can make your workflow so much smoother and help you hit "publish" with total confidence. Let's tackle some of the most frequent hurdles creators face.
What’s the Best Editor for YouTube Shorts?
This is the big one, and the honest answer is: it depends entirely on your workflow. There's no single "best" editor for everyone. It all comes down to what you need.
- For pure speed: The native YouTube app is unbeatable for quick, on-the-fly edits right from your phone.
- For more features (free): Mobile apps like CapCut pack a surprising punch with advanced tools that won't cost you a dime.
- For the pros: If you're looking for industry-standard power, desktop software like DaVinci Resolve is the way to go.
- For max efficiency: When it comes to turning long videos into Shorts, AI repurposing tools like Klap are the smartest, fastest option by a long shot.
Can I Edit a YouTube Short After Uploading?
In a word: no. Once your Short is live, you cannot edit the video content itself. You can still tweak the title, description, and tags, but if you spot a mistake in the actual video, your only option is to delete it and re-upload.
This is why a final pre-publish check is non-negotiable. Always give your final cut one last watch-through before it goes live. It’ll save you the headache of starting over and losing any of that precious initial engagement.
How Do I Add Music Without Copyright Issues?
Navigating music rights feels like a minefield, but YouTube gives you a safe path. The most secure way is to use the "Add Sound" feature right inside the YouTube Shorts mobile editor. This unlocks a huge library of licensed music you can use without ever worrying about a copyright strike.
If you’re editing on a desktop, your safest bet is to pull tracks from the official YouTube Audio Library or pay for a royalty-free music service. This ensures a music licensing claim won't get your hard work taken down.
Ready to stop editing for hours and start multiplying your content? Klap uses AI to instantly find the most viral-worthy moments in your long-form videos, turning them into perfectly optimized Shorts in minutes. Give it a try for free and see how fast you can build your content library at https://klap.app.
