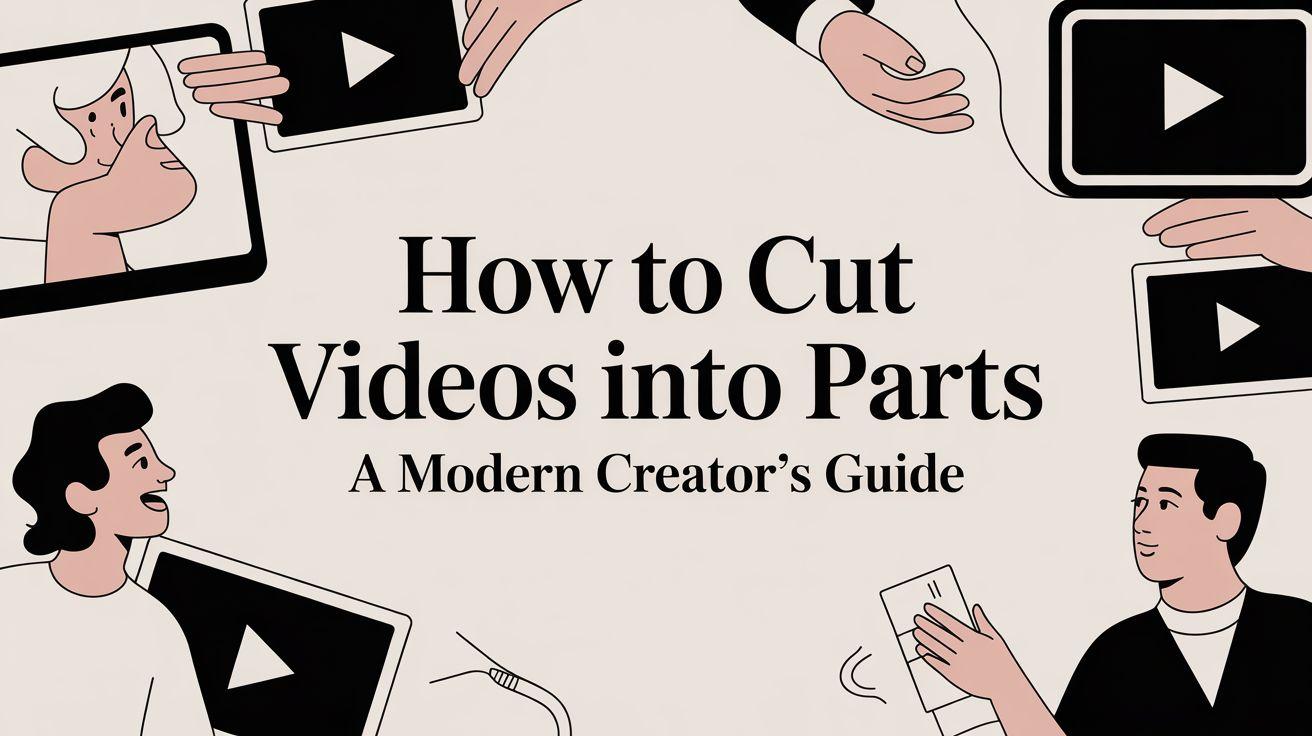
A Modern Creator's Guide on How to Cut Videos Into Parts
Other
Knowing how to slice and dice your videos is a fundamental skill for any creator. You've got three main paths you can take: the high-control route with desktop software, the quick-and-easy approach with online tools, or the automated, hands-off method using AI.
Which path you choose really just depends on what you're trying to accomplish. Are you after pixel-perfect precision for a cinematic masterpiece, a fast trim for a quick social post, or maximum efficiency to scale your content output? Let's figure out which one is right for you.
Why Cutting Videos Is a Must-Have Creator Skill
In a world where the average human attention span is just 8.25 seconds—less than a goldfish—mastering the edit isn't just a nice-to-have skill anymore. It's your core strategy for audience growth.
Breaking down long-form content into powerful, shareable moments is how you grab eyeballs on crowded platforms like TikTok and Instagram. It’s the key to keeping viewers hooked and making your message stick with a much wider audience. This skill is so critical that the global market for video editing software hit $3.09 billion in 2023 and is projected to reach $5.13 billion by 2032. That explosive growth is happening for one reason: creators and marketers know a well-cut clip delivers results.
Choosing Your Editing Path
In this guide, I'll walk you through three different methods to cut your videos. Each one offers a unique mix of control, speed, and automation, so you can pick the right tool for the job at hand.
- Desktop Editors: These give you maximum precision for those detailed, professional-level edits. Think total creative control.
- Online Tools: Perfect for quick, simple cuts when you don't want to install any software. This is all about convenience and speed.
- AI-Powered Platforms: These automate the entire process, finding and creating clips for you in minutes. This is your ultimate time-saver.
This simple breakdown should help you decide which tool fits your immediate goal.
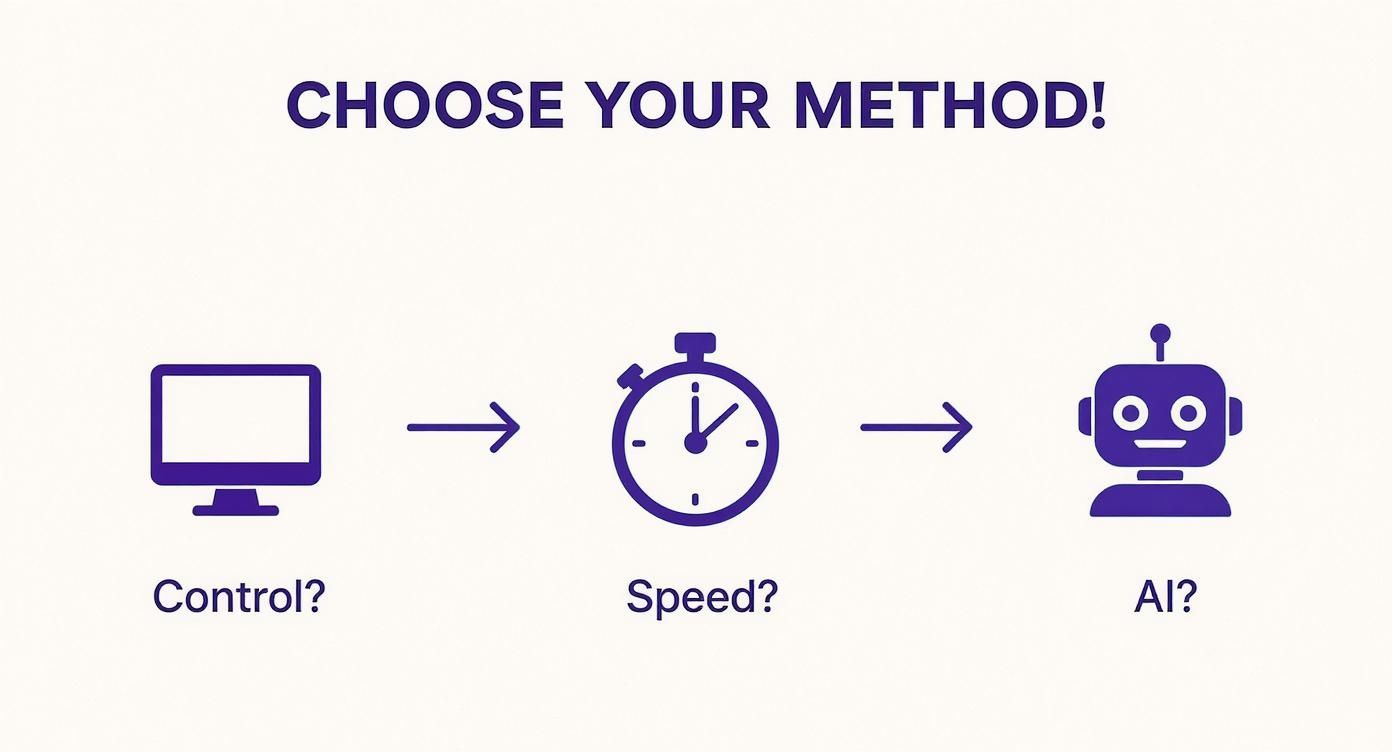
As you can see, your top priority—whether it’s control, speed, or AI assistance—is what should guide your choice. To really level up your content game, it pays to get comfortable with different approaches to video editing for social media.
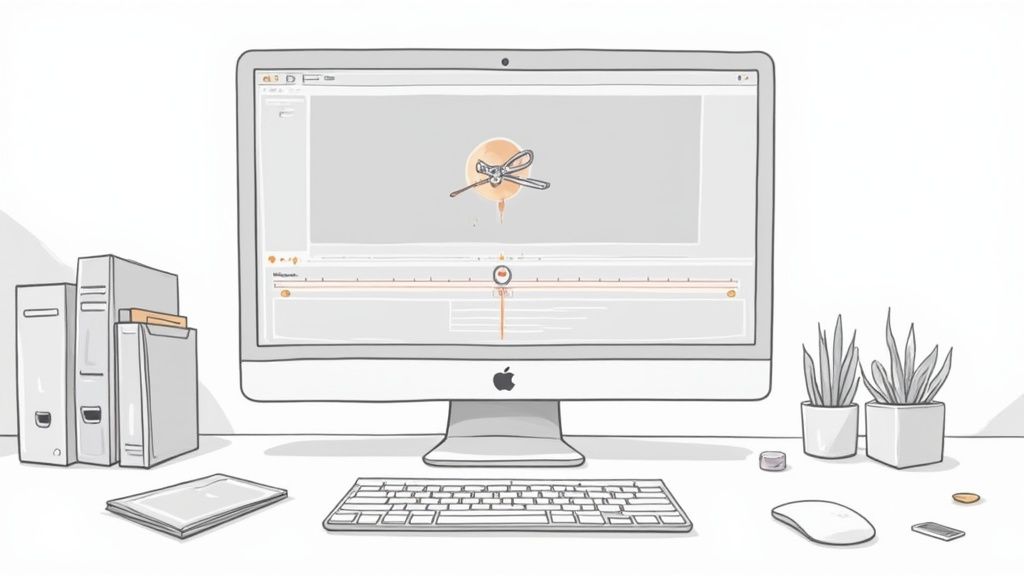
Mastering the Craft with Desktop Video Editors
When you need absolute precision and creative freedom, nothing beats a powerful desktop video editor. Tools like Adobe Premiere Pro, DaVinci Resolve, or Final Cut Pro are the industry standard for a reason—they give you complete, frame-by-frame control. This is the path for creators who want to move beyond simple trims and truly own the narrative of their content.
Let's say you just finished recording a 30-minute podcast episode. Your goal is to pull out five compelling, social-media-ready clips. Instead of just randomly chopping, a professional workflow always starts with organization. In practice, this means creating specific folders, or "bins," inside your project for raw footage, audio, and eventually, your exported clips. A tidy project is a fast project—every second you save searching for a file is a second you can spend creating.
A Practical Workflow for Cutting Clips
Once that 30-minute episode is imported and sitting on your timeline, the real work begins. Your first pass shouldn't be about cutting at all—it should be about spotting potential highlights. I recommend using markers to flag interesting moments as you watch. Maybe it's a strong quote, a surprising statistic, or a funny story. This non-destructive approach lets you map out the entire video before you ever touch the blade tool.
With your key moments marked, you can start isolating them. This is where keyboard shortcuts become your best friend. In most pro editors, you can quickly define the start and end of a segment without ever reaching for your mouse.
- The 'I' Key: This sets the In Point, marking where you want the clip to begin.
- The 'O' Key: This sets the Out Point, marking where it should end.
- The 'C' or 'B' Keys: These typically activate the Blade or Cut tool, letting you slice the clip on your timeline.
By tapping I and O to define a segment and then lifting it to a new track or creating a subclip, you can pull your five highlights without ever messing with the original footage.
Actionable Insight: A study of professional editors revealed that mastering just 10-15 core keyboard shortcuts can increase editing speed by as much as 40%. Focus on shortcuts for cutting, trimming, and navigating the timeline to see the biggest return on your time.
Choosing Your Desktop Video Editor
Not all desktop editors are the same. They're built for different users, from total beginners to seasoned Hollywood pros. Picking the right one really comes down to your budget, your operating system, and the complexity of your projects.
To make it easier, here's a quick breakdown of the big three.
EditorBest ForKey Cutting FeaturesPrice Model
DaVinci Resolve
Color grading and all-in-one production, especially if you're on a budget.
Dedicated "Cut Page" for rapid trimming, precise timeline editing, and powerful Fairlight audio tools.
The free version is incredibly powerful; the Studio version is a one-time purchase.
Adobe Premiere Pro
Professional editors who need seamless integration with other Adobe apps.
Industry-standard timeline controls, deep shortcut customization, and the new "Text-Based Editing" feature.
Monthly/Annual Subscription.
Final Cut Pro
Mac users who value speed and a really intuitive interface.
The magnetic timeline makes arranging clips a breeze, and its media organization tools are top-notch.
One-time purchase.
No matter which editor you land on, the core principle is the same. When you learn how to cut videos into parts using a desktop editor, you’re building a foundational skill. That level of control ensures every transition is clean, every cut has a purpose, and every clip you export is top-quality—setting your content miles apart from the rest.
Making Quick Edits with Online Video Cutters
Sometimes you just need a quick, no-fuss edit, and firing up a full-blown desktop editor feels like using a sledgehammer to crack a nut. This is exactly where online video cutters shine. They are the perfect tool when speed is more important than surgical precision.
Think about it: you just finished a fantastic hour-long webinar, but the first two minutes are just awkward "can you hear me?" checks and small talk. Instead of waiting for a hefty program to load, you can just pop the file into a browser-based tool and chop off the beginning and end in minutes. No installation, no complicated menus—just a fast, simple trim.
This convenience is a direct reflection of how modern content creation works. The market for video cutter software is expected to climb to $2.79 billion by 2033, with a huge chunk of that growth driven by cloud-based tools. They offer the kind of flexibility that remote teams and solo creators demand. You can get a deeper look into this trend by checking out the full video cutter software market report.
The Typical Online Workflow
Most online video cutters have a ridiculously simple process. It’s perfect for grabbing that one hilarious moment from a long gaming stream without getting bogged down in features you don't need.
The whole thing usually boils down to a few steps:
- Upload Your File: Just drag and drop your video into the browser window or paste in a link.
- Define Your Segment: You’ll see a timeline with a start and end handle. Slide them around to mark the exact part of the video you want to keep.
- Download the Clip: Once you’ve got your segment picked out, just hit the download button and you’re done.
The entire sequence often takes just a few minutes, making it a lifesaver for creators on a tight deadline. And if your goal is to turn one long video into several social media clips, a dedicated long to short video converter can automate that workflow even more.
Actionable Insight: Online tools are ideal for single-purpose edits. They excel at top-and-tail trims, isolating one key moment, or reducing a file's duration to meet the length requirements of platforms like Instagram Stories (60 seconds) or TikTok (up to 10 minutes).
Understanding the Trade-Offs
Of course, that convenience comes with a few strings attached. Online tools are great, but it’s important to know what you’re giving up for that speed. Most free services have limitations that might be deal-breakers for certain projects.
Here are a few common ones to watch out for:
- File Size Caps: You might not be able to upload that 2-hour 4K podcast recording on a free plan. Many cap uploads at 500MB or 1GB.
- Watermarks: Be prepared for the tool's logo to get stamped onto your final video.
- Reduced Quality: To keep things fast, online tools often compress your video, which can sometimes lead to a slight drop in visual quality.
Ultimately, choosing an online cutter is a strategic move. If you just need a quick trim and can live with these potential trade-offs, it's an unbeatable option for getting things done fast.
Let AI Do the Heavy Lifting: Automating Your Workflow
What if you could turn a one-hour video into a dozen viral-ready clips in just a few minutes, without manually scrubbing through a timeline? That’s no longer a hypothetical—it’s the new reality with artificial intelligence. While manual methods give you pinpoint control, AI-driven platforms completely flip the script by automating the hunt for shareable moments.
This isn't just about making simple cuts. The tech is smart. It analyzes your video’s transcript, identifies engaging topics, and even understands visual context to automatically pinpoint the best hooks and soundbites. The time savings are massive. We're talking about reducing a 4-hour editing job down to about 10 minutes.

The Power of an AI Editing Assistant
Imagine you’ve just recorded a long keynote speech. Instead of dedicating hours to finding the best takeaways, an AI tool can hand you back 15 short-form videos, already complete with auto-generated captions and smartly reframed for vertical formats like TikTok or Instagram Reels. This is the modern workflow for creators who are serious about scaling their content production.
This shift toward intelligent automation is a huge market trend. By 2025, subscription-based platforms are expected to make up over 60% of the video editing software market, largely driven by the demand for cloud computing and AI-powered tools that boost productivity.
Actionable Insight: One of the biggest wins with AI is its uncanny ability to spot compelling clips you might have missed. Because it analyzes the full transcript and context, it can identify moments with subtle emotional cues or interesting questions that a quick manual scan would almost certainly overlook.
How AI Clipping Tools Actually Work
The entire process is built for speed and simplicity. While features can differ between platforms, the core workflow is remarkably consistent, letting you turn long-form content into a library of social assets with very little manual effort.
Here’s a play-by-play:
- You feed it the source video. This is as simple as dropping in a YouTube link or uploading a file directly from your computer.
- The AI gets to work. It immediately starts transcribing the audio and analyzing the content to identify key topics, questions, and other engaging moments.
- You get a list of clips. Within minutes, the tool serves up a collection of suggested short clips, often with a "virality score" or a title explaining why that segment was chosen.
- You review and refine. From there, you can easily tweak the start and end points, polish the auto-generated captions for accuracy, and pick the perfect aspect ratio for your target platform.
This workflow takes the job of cutting videos into parts from a tedious editing task to a quick review process. Using an AI short video generator lets you reclaim hours of your time to focus on strategy instead of grunt work.
And if you want to take your automation even further, exploring more advanced AI video generators can help streamline your entire production pipeline.
How to Export and Organize Your Clips Like a Pro
Alright, you’ve learned how to slice up your videos. But making great clips is only half the battle. A truly efficient workflow includes how you export and manage your files after the cuts are made. How you name, save, and organize your content directly impacts your final quality and, honestly, your sanity.
A messy desktop full of files named Final_Clip_v3_final.mp4 is a recipe for a digital headache. Building good organizational habits from the start will save you an incredible amount of time and stress down the road.
Nail Your Export Settings
Exporting with the wrong settings can completely ruin an otherwise perfect clip. Every social media platform has its own preferences for resolution, bitrate, and format. To avoid that dreaded blurry, pixelated look, you have to match your export to what the platform wants.
For most vertical video platforms, here are some solid, actionable starting points:
- Resolution: Stick to 1080x1920. It's the gold standard for high-quality vertical video that looks great without creating massive file sizes.
- Frame Rate: Always match your source footage. This is usually 24, 30, or 60 frames per second (fps). A mismatch can cause stuttering.
- Bitrate: Aim for 10-15 Mbps for 1080p footage. This gives you a fantastic balance between a manageable file size and crisp visual quality.
Actionable Insight: Always export a master file at the highest possible quality before compressing it for specific platforms. This gives you a pristine archive you can pull from later without having to go back and re-edit the original project.
If your focus is on turning horizontal videos into vertical clips, getting the reframing right is everything. To get deeper into that process, check out our guide on how to create YouTube Shorts from existing videos, which is packed with specific export tips.
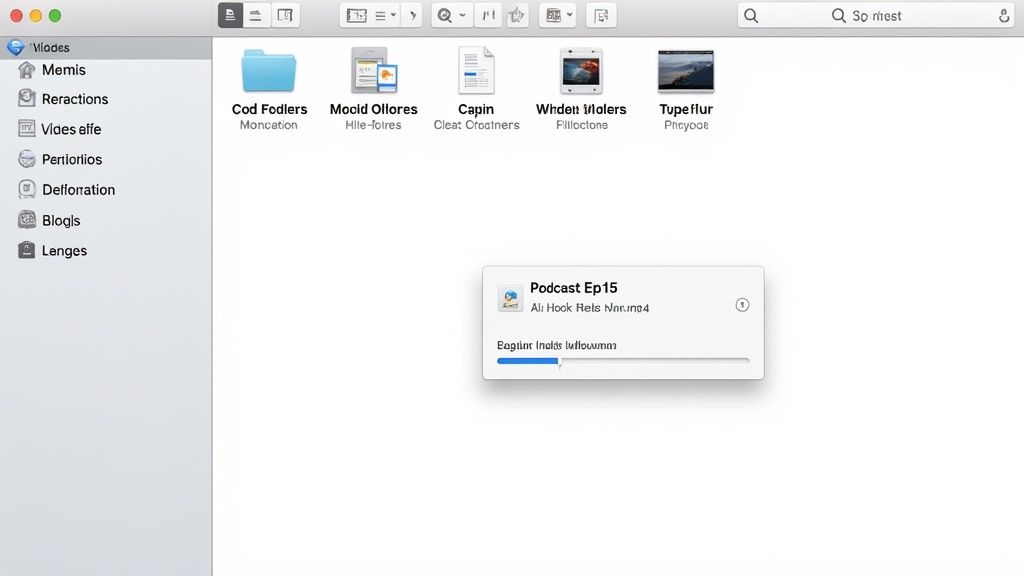
Build a Logical Naming and Folder System
A consistent naming convention is your best friend in the fight against chaos. Without one, your project folder quickly devolves into a confusing mess. A descriptive system makes everything searchable and immediately understandable at a glance.
Try a simple but powerful structure like this:
[ProjectName][ClipDescriptor][Platform]_[Date].mp4
Let’s look at a real-world example. A clip from a podcast might be named:
PodcastEp15_AI-Hook_Reels_2024-10-26.mp4
Just from the file name, you know the source episode, the clip's topic, its intended platform, and the creation date. No guesswork needed.
Your folder structure should be just as logical. Start with a main project folder, then use subfolders for different types of assets.
- [Project Name]
- 01_Raw-Footage (Your original, uncut video files)
- 02_Clips-for-Export (Your edited short clips)
- 03_Graphics-and-Audio (Any overlays, music, or sound effects you used)
- 04_Final-Exports (The final, compressed videos ready for each platform)
This level of organization feels like extra work upfront, but it pays off big time, especially when you need to find a specific clip six months from now.
Got Questions About Cutting Up Your Videos?
Even after you get the hang of a few tools, real-world questions always pop up in the middle of a project. We’ve pulled together some of the most common things creators ask when they're figuring out how to slice up their content.
Think of this as your go-to guide for those moments when you're wondering, "Am I even doing this right?" Nailing these points will help you work faster and end up with much better clips.
How Can I Cut a Video Without Losing Quality?
This is a big one, and the answer almost always comes down to your export settings. It’s a classic mistake to do all the hard editing work and then just click "export" without a second thought.
To keep your video looking crisp, match the export settings to your original footage as closely as possible. If you shot your video in 1080p at 30 frames per second, your export settings should be the exact same. For most social media clips, a bitrate between 10-15 Mbps for 1080p video is the sweet spot. This keeps the file size manageable while making sure the visuals stay sharp. Also, try to avoid re-exporting the same clip over and over. Every time you re-compress it, you lose a little bit of quality. Many free online tools can be aggressive with their compression, so always look for a "high quality" export option if it's available.
What's the Fastest Way to Cut a Long Video?
Hands down, the quickest method is using an AI video clipping tool. These platforms can analyze an hour-long podcast and generate dozens of captioned, ready-to-post clips in about 10-15 minutes. The time you save compared to manual editing is massive, freeing you up to focus on content strategy instead of tedious tasks.
If you're sticking to the manual route, the secret to speed is mastering keyboard shortcuts in your editor. Using keys like 'I' and 'O' to set in and out points or the shortcut for your blade/cut tool will radically speed things up. It feels awkward at first, but after a week of practice, you’ll be flying through your timeline, isolating the best moments with precision.
How Do I Choose Which Parts to Turn Into Clips?
Picking the right moments to clip is an art, but there are some clear signals you can look for. The goal is for each clip to feel self-contained—it needs to deliver one single, powerful idea without leaving the viewer feeling like they've missed half the story.
While you're watching your main video, listen for things like:
- Powerful Quotes: Short, memorable lines that really land.
- Actionable Tips: Quick bits of advice that someone can use immediately.
- Funny Asides: Moments of genuine humor or personality that help people connect with you.
- Emotional Highs: Any segment that creates a feeling of surprise, empathy, or excitement.
Actionable Insight: A great rule of thumb is to look for moments that create a natural 'hook.' This could be a surprising statistic, a provocative question, or a strong emotional beat. If a segment makes you pause and think, it will likely do the same for your audience. A great clip should stand on its own and make someone want to see more.
A super simple but effective tactic is to just jot down timestamps as you're watching your content for the first time. Anytime a segment grabs your attention, write it down. More often than not, those are the golden nuggets you'll want to share.
Ready to stop spending hours hunting for clips and let AI do the work for you? With Klap, you can turn any long video into a dozen viral-ready shorts in minutes. Just paste your link, and our AI will find the best moments, add captions, and reframe them for social media. Try it for free and see how much time you can save.
