Perfect Your Video Quality: Lens & Lighting Tips
Jan 23, 2024
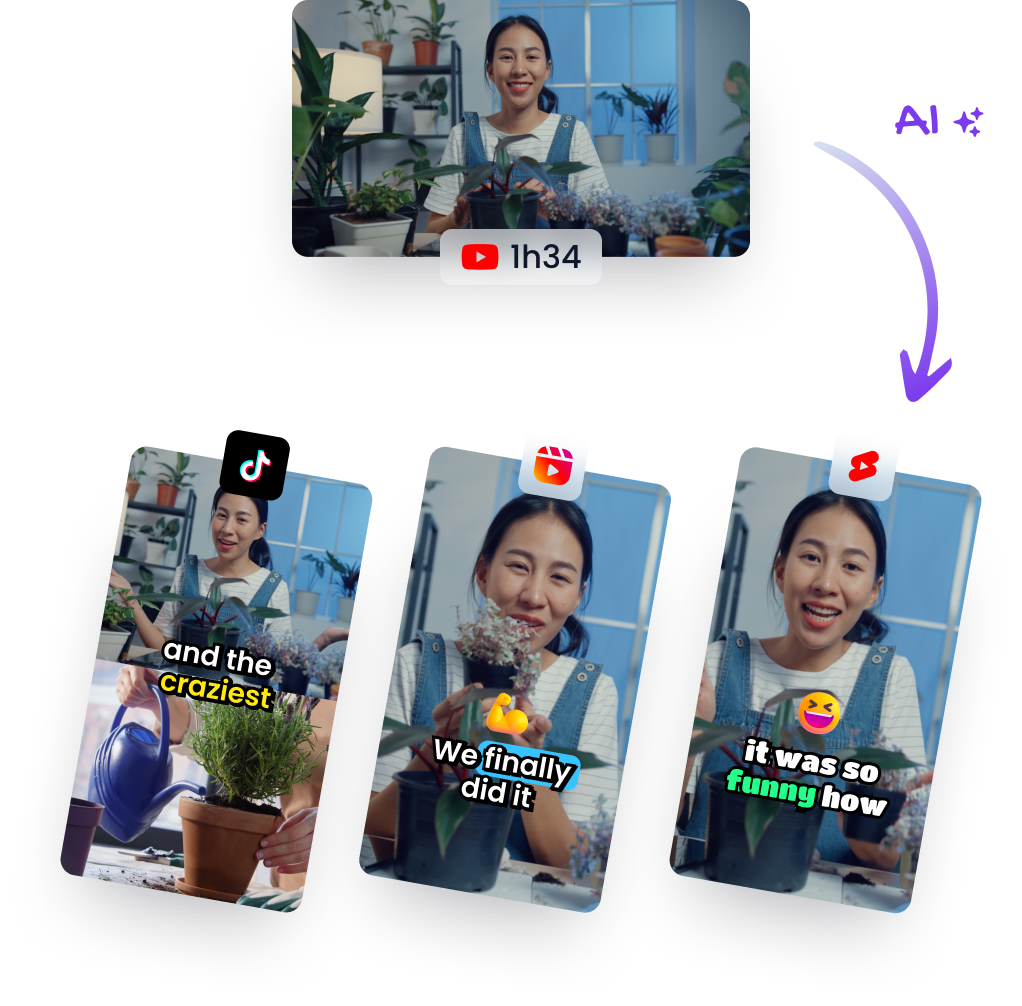
Video ProductionTLDR: Watch the AI-generated short
Creating high-quality videos is an art that combines the right equipment with meticulous attention to detail. Whether you're aiming for a professional studio look or a dynamic, on-the-street vibe, understanding how to utilize lenses and lighting can drastically improve your video content's appeal. Below, we delve into practical tips for choosing the right lens and mastering three-point lighting to elevate your video production.
The Right Lens Matters
The choice of lens has a profound impact on the aesthetic of your footage. It influences everything from depth-of-field to field-of-view. For many creators in various niches, achieving a blurred background effect helps draw focus to the subject while delivering that quintessential 'high quality' feel viewers recognize and appreciate.
When selecting a lens:
- Consider Aperture: A wide aperture (a lower f-stop number) allows more light into the camera sensor and creates a shallower depth of field.
- Focus on Focal Length: Lenses with longer focal lengths can compress space and bring backgrounds closer, while wider lenses offer expansive views.
- Match it With Content Needs: If you’re aiming for cinematic shots with soft backgrounds, prime lenses might be best; however, if versatility is key – such as in run-and-gun scenarios – zoom lenses may be more appropriate.
Remember that there's no one-size-fits-all solution when it comes to lenses; what works well for static talking head videos may not be suitable for action-packed sequences.
Mastering Three-Point Lighting
Lighting plays an equally crucial role in producing high-caliber videos. Three-point lighting is a standard technique that adds dimensionality and drama through strategic placement of lights around your subject:
- Key Light: This primary light source should be large and soft, positioned at about 45 degrees from your subject creating flattering shadows.
- Backlight: Often warmer tones like yellow help create separation between the subject and backdrop—known as rim light—and add depth.
- Background/Fill Light: You can use this either as an additional fill to soften shadows created by key light or illuminate the background which could feature brand colors or designs according to preference.
This classic setup fosters what’s often referred to as 'studio effect', lending professionalism even if viewers are unfamiliar with you personally—they recognize quality when they see it!
Practical Takeaways:
Here are some actionable steps based on our discussion:
-
Choose Your Lens Wisely:
- Assess environmental needs
- Prioritize aperture settings suited for desired blur effects
- Select focal length based on required shot composition
-
Illuminate Like A Pro:
- Invest in decent lighting equipment
- Set up key lights at proper angles
- Use backlights strategically for visual separation
- Adjust background/fill lights depending on overall scene requirements
3 . Match Style To Content:
- Keep context top-of-mind; slick production isn't ideal everywhere (e.g., Safe Life Defense body armor brand thrived with rawer aesthetics)
- Be adaptable but maintain consistent quality standards
By taking these insights onboard, anyone from budding videographers to seasoned professionals can enhance their work dramatically—ensuring every frame communicates excellence.
In conclusion, whether blending into established norms within specific niches or breaking molds with unique styles—the combination of appropriate glassware upfront paired meticulously executed illumination behind scenes makes all difference between amateur hour versus showstopper material!