Mastering Color Correction for Striking Videos
Jan 15, 2024
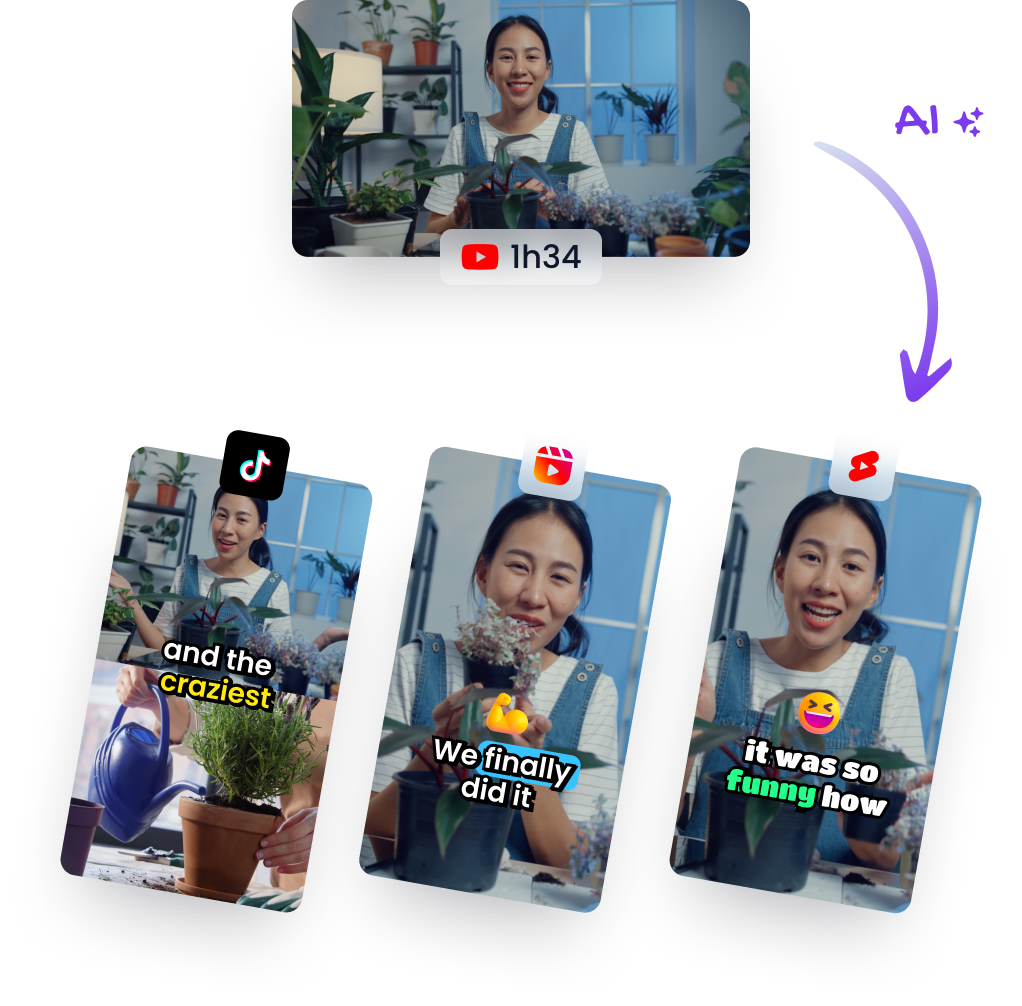
Video ProductionTLDR: Watch the AI-generated short
Creating visually captivating videos is an art form that requires attention to detail and a touch of technical know-how. Among the most crucial steps in video editing is color correction, a process that can elevate your footage from amateur to professional with just a few adjustments. Let's delve into how you can enhance the visual appeal of your videos through effective color correction.
Understanding Color Correction
Color correction might sound complex, but it’s essentially about adjusting the colors in your video to make them look more accurate or aesthetically pleasing. Whether you want vibrant hues that grab attention or subtle tones that set a mood, this step ensures your final product has just the right look.
Making Colors Pop
Want to make sure your reds are radiant and blues are bold? Boosting saturation will enhance the intensity of colors in your footage. This simple tweak can turn dull scenes into dynamic ones, helping important elements stand out.
Deepening Blacks for Contrast
To give depth and dimension to your image, adding contrast is key. By deepening blacks, you create a stronger visual impact where shadows appear richer and images gain texture – making for more dramatic and engaging content.
Final Touches Before Exporting
Once you're pleased with the color grading:
- Review all cuts, sounds, and images multiple times.
- Ensure everything aligns precisely with how you envisioned.
- Choose correct export settings—many editing software programs offer optimized exports for platforms like YouTube.
- Save the video onto your computer before uploading it online.
The Unlisted Upload Strategy
Before going public with your masterpiece:
- Upload as unlisted: Take advantage of this setting on YouTube as it gives breathing space to fine-tune details without audience pressure.
- Craft compelling metadata: Write an engaging title, description, and tags during this grace period; they play a significant role in discoverability.
- Go public when ready: Switch visibility only when every element meets satisfaction—from thumbnail design down to caption accuracy.
Practical Takeaways: Your Video Editing Checklist
- Utilize color correction tools strategically – boost saturation carefully; add contrast appropriately.
- Repeatedly review edits until perfection—or close enough—is reached.
- Optimize export settings tailored for intended platforms (e.g., YouTube).
- Initially upload videos as unlisted—it provides time for crafting SEO-friendly titles/descriptions/tags without rush.
Video editing may seem daunting at first glance but remember: practice makes perfect! For additional insights into refining these skills further explore courses such as Creator Academy, which offers comprehensive guidance tailored specifically towards budding videographers looking hone their craft even further!
Stay updated by subscribing our channel—we release new content weekly aimed at enhancing creative endeavors across varied multimedia landscapes!
Until next time, Enhance those hues & happy editing!