10 Actionable Video Editing Tips for Beginners in 2025
Other
Stepping into video editing can feel like learning a new language. With countless software options, it’s easy to get overwhelmed turning raw footage into a compelling video. But what if you could bypass the common pitfalls? Strong editing is more valuable than ever—viewers are 85% more likely to buy a product after watching a video about it. Getting comfortable with the basics is your first step toward producing high-impact content.
This guide provides 10 foundational video editing tips for beginners, designed to give you actionable insights that will immediately improve your workflow and final cut. We'll move beyond generic advice to give you specific techniques professionals use to transform clips into captivating stories. To get started, it helps to understand the essential video editing terminology that forms the foundation of the craft.
From mastering fundamental cuts and audio levels to understanding color correction and platform-specific export settings, you’ll gain the confidence to edit faster and more effectively. These tips will prepare you to not just assemble clips, but to build a narrative that captures and holds your audience's attention from start to finish.
1. Use Keyboard Shortcuts to Speed Up Your Workflow
One of the most impactful video editing tips for beginners is mastering keyboard shortcuts. Instead of slowly clicking through menus, shortcuts let you execute commands instantly. Professional editors perform over 80% of their tasks using these key combinations, which can cut your editing time in half by transforming a slow, click-heavy process into a fluid workflow.
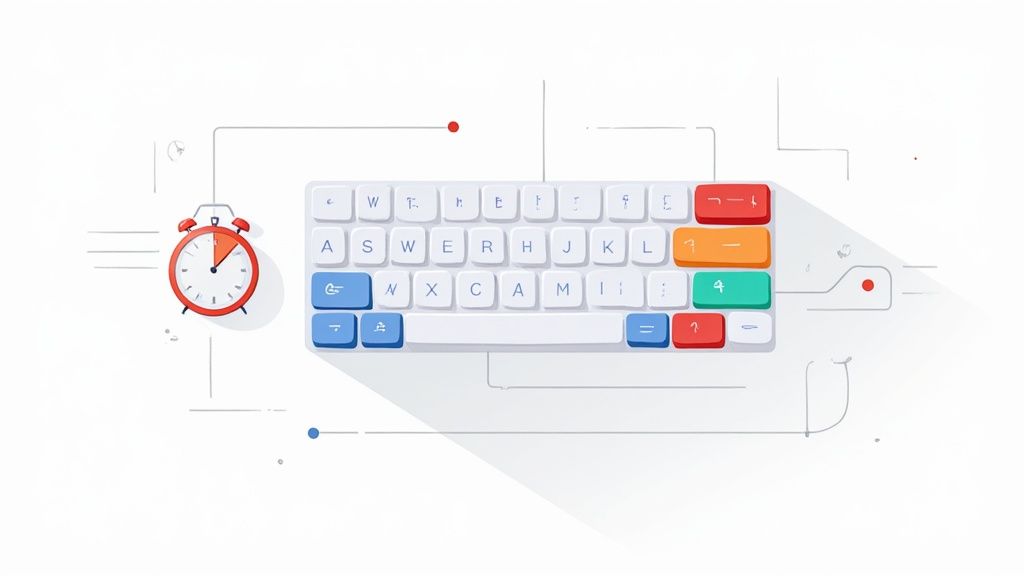
Think about common actions like cutting a clip or playing your timeline. Each can be done in a fraction of a second. For example, almost all editors use the J-K-L keys for playback: J rewinds, K pauses, and L fast-forwards. This simple trio alone dramatically speeds up the process of reviewing footage.
How to Get Started
You don't need to learn every shortcut at once. The key is to build muscle memory gradually.
- Start Small: Identify the 5-10 commands you use most. Common ones include splitting a clip (Ctrl/Cmd + K in Premiere Pro) and adding an edit point.
- Keep a Cheat Sheet: Print a list of your software's shortcuts and keep it on your desk. Many providers, like Adobe, offer official reference cards.
- Practice Daily: Make a conscious effort to use shortcuts instead of the mouse. Within a week, these actions will become second nature.
- Customize Your Keys: As you get more comfortable, you can customize your keyboard layout to create a setup that feels most intuitive for your personal workflow.
2. Master the Fundamentals of Color Correction
Learning basic color correction is one of the most transformative video editing tips for beginners. This process involves adjusting your footage to achieve accurate colors, proper exposure, and balanced whites. Before you get creative with stylistic color grading, this step builds a clean foundation. Even minor issues, like an unnatural skin tone or a blueish tint on a white wall, can distract viewers and make your video look amateur.
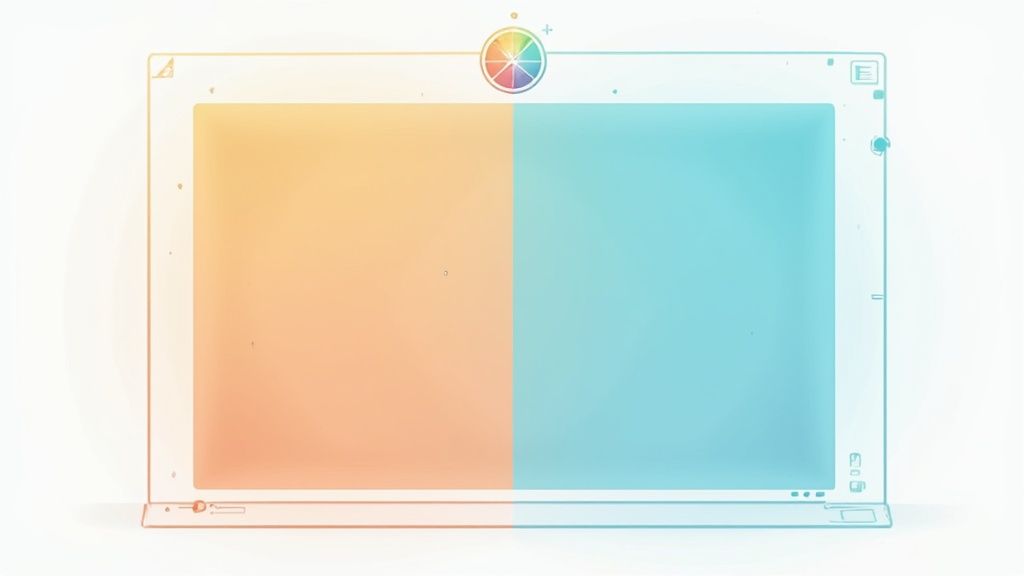
Think of it as cleaning up the image. Filmmakers use it to match shots filmed in different lighting, while marketers rely on it to ensure brand colors are represented accurately. Making your whites truly white and your blacks truly black creates a polished look that separates amateur work from professional content. It’s a non-negotiable step for producing high-quality video.
How to Get Started
You don't need to be a Hollywood colorist to make a big impact. Start with these basics for a clean, neutral canvas.
- Follow a Logical Order: Correct your footage in this order: 1. Exposure, 2. White Balance, 3. Contrast, and 4. Saturation. Following this sequence prevents you from having to re-do your work.
- Use Your Scopes: Don't just trust your eyes. Use your software's built-in tools like waveform monitors and vectorscopes. The waveform helps you judge brightness (exposure), while the vectorscope shows color hue and saturation.
- Fix White Balance First: The most common color issue is incorrect white balance. Use your editing software’s white balance tool (often an eyedropper) and click on something in your shot that should be pure white. This one fix can instantly make your footage look more natural.
- Aim for Consistency: The primary goal is to make all clips in the same scene look like they were shot at the same time. Use one corrected shot as a reference to match colors across different angles.
3. Organize and Plan Your Project Structure Before Editing
A disorganized project is a huge roadblock for new editors. Instead of dropping all your files into one folder, create a clean, logical project structure before you import anything. This simple habit prevents lost files and saves hours of frustrating searches for that one specific audio clip or graphic. A survey of professional editors found that over 70% use a standardized folder template for every project to maintain efficiency.
Think of your project folder as a digital filing cabinet. A simple setup might include separate folders for Raw Footage, Audio, Graphics, Music, and Exports. This small effort at the start pays massive dividends in efficiency later on.
How to Get Started
Implementing a solid organizational system is easy and will quickly become second nature.
- Create a Master Template: Build a main project folder containing all your essential subfolders (e.g., 01_Footage, 02_Audio, 03_Graphics, 04_Exports, 05_ProjectFiles). Copy this template for every new video.
- Use Smart Naming Conventions: Name your files descriptively. A great format is
YYYY-MM-DD_ProjectName_ClipDescription. This makes files instantly searchable and sortable. - Separate Versions: Within your exports folder, create subfolders for
Working_RendersandFinal_Versionsto avoid accidentally sending the wrong file. For more ways to boost efficiency, check out these other tools for creators. - Back Up Everything: Regularly back up your entire project folder to an external hard drive or cloud storage. A good rule is the "3-2-1 backup rule": 3 copies of your data, on 2 different media, with 1 copy offsite.
4. Cut on Action to Create Smooth, Invisible Transitions
One of the most powerful video editing tips for beginners is to "cut on action." This technique means making an edit during a moment of movement, rather than when the subject is still. The viewer's eye naturally follows the motion, cleverly distracting them from the cut itself. This creates a seamless transition that feels smooth and professional, preventing the jarring effect of a hard cut between two static shots.
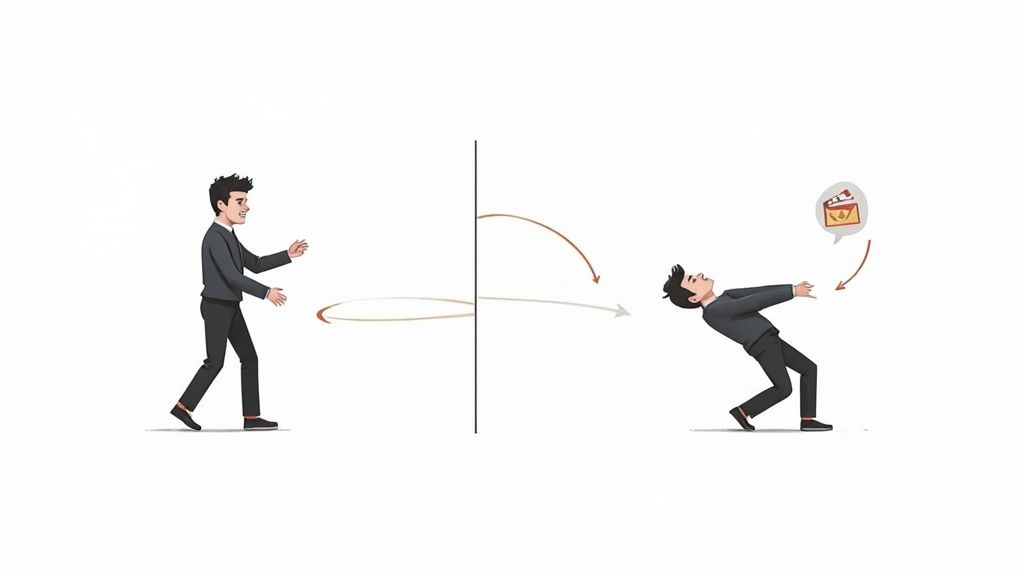
You see this technique everywhere, from Hollywood action sequences to YouTube tutorials. An editor might cut from a wide shot of someone reaching for a door to a close-up of their hand just as it touches the handle. The continuous action bridges the two shots, making the transition feel fluid and intentional. This method is fundamental to maintaining viewer immersion.
How to Get Started
Mastering this technique is about timing and anticipation.
- Plan Your Shots: When filming, have your subject perform the same action multiple times from different angles. Make sure to capture the entire movement with a few extra seconds before and after.
- Find Matching Frames: In your editing software, find the frame in your first clip where the action is happening. Then, scrub through your second clip to find the frame that continues that exact movement.
- Match Direction: Ensure the movement is consistent across the cut. If someone is moving left to right in the first shot, they should continue moving left to right in the second.
- Practice with Gestures: A great way to practice is with interview footage. Try cutting between different camera angles during a hand gesture or a nod to see how it smooths the conversation's flow.
5. Use the L-Cut and J-Cut Technique for Better Pacing
To make your videos feel more professional, master L-cuts and J-cuts. Instead of a hard cut where both video and audio change at the same time, these techniques stagger the transition. This simple change makes your edits feel smoother and more cinematic, guiding the viewer's attention seamlessly from one shot to the next.
In an L-cut, the audio from the first clip continues playing after the video cuts to the next shot. Conversely, a J-cut brings in the audio from the upcoming clip before the video cuts to it. This creates anticipation and connects scenes in a more natural way. Documentaries frequently use J-cuts to introduce an expert's voice before we see them on screen.
How to Get Started
Implementing these cuts is simple in most editing software and adds significant polish.
- Unlink Audio and Video: First, separate the audio and video tracks of your clips. This allows you to trim one without affecting the other.
- Start Small: Begin by extending your audio by just a few frames (about 1/10th of a second) past or before the video cut. A subtle overlap is often more effective than a long one.
- Use L-Cuts for Conversation: L-cuts are perfect for dialogue scenes. By showing a character's reaction while the other person is still speaking, you add emotional depth.
- Use J-Cuts to Build Intrigue: A J-cut is ideal for introducing a new scene. Hearing a sound (like a car engine) before seeing its source pulls the audience into the next shot.
6. Create Dynamic B-Roll and Establish Shot Sequences
A crucial video editing tip for beginners is mastering B-roll and establishing shots. B-roll is supplementary footage you cut away to from your main shot (A-roll). Instead of holding on a single static interview, these elements add visual context and maintain audience engagement. Professionals often build videos with up to 60% B-roll, transforming a simple recording into a dynamic story.
Think of a travel vlog. The A-roll is the creator talking to the camera, but the B-roll is the breathtaking scenery and the close-up of local food. These shots immerse the viewer in the experience. Similarly, a corporate video might use an establishing shot of the office building to ground the narrative and B-roll of employees collaborating to reinforce key messages.
How to Get Started
You can elevate your videos immediately by planning and shooting B-roll with intention.
- Plan Your Shots: Before you edit, think about the story. Shoot a sequence of wide, medium, and close-up shots of the same subject to give yourself options.
- Shoot More Than You Need: A good rule of thumb is to capture at least 30 seconds of B-roll for every minute of your final video. It’s always better to have too much footage than not enough.
- Vary Shot Duration: In the edit, match the length of your B-roll clips to the pacing. Use quick cuts for high-energy moments and let longer shots breathe during calmer sections.
- Incorporate Movement: Don't just rely on static shots. Simple camera movements like pans, tilts, or slider shots can add a professional, energetic feel to your footage.
7. Master Audio Levels and Normalize Your Sound
Many beginners obsess over video quality while overlooking sound. Poor audio is a deal-breaker for viewers; in a recent study, over 60% of people said they would stop watching a video immediately due to bad audio. Mastering audio levels means balancing your different sound elements (dialogue, music, sound effects) to ensure your audience can hear every word clearly.
Professional podcasts and YouTube channels sound so clean because they adhere to strict audio standards. Your goal is to make the listening experience effortless, so viewers don't have to constantly adjust their volume. A well-mixed video sounds professional and keeps your audience engaged from start to finish.
How to Get Started
You don't need to be a sound engineer to achieve great audio. Focus on these fundamental practices.
- Set a Dialogue Baseline: Your main audio, usually dialogue, should be your reference point. A good target for online content is to set its average level between -12dB and -6dB.
- Balance Your Music: Once your dialogue is set, mix your background music to be significantly lower. A common rule is to set it 18-24 dB below your dialogue to ensure it complements, rather than competes with, the spoken words.
- Use Audio Ducking: Most editing software has an "auto-ducking" feature. This automatically lowers the music volume whenever dialogue is detected, saving you a massive amount of manual adjustment time.
- Trust Your Meters and Your Ears: While audio meters provide objective data, always listen to the final mix with good-quality headphones. This helps you catch issues that the meters might miss.
8. Use Pacing and Rhythm to Control Emotional Impact
One of the most powerful video editing tips for beginners is learning to control pacing. Pacing is the speed at which shots change, and it directly influences the viewer's emotional response. Fast, quick cuts can create urgency and excitement, while longer, slower shots build tension or thoughtfulness. Mastering this can transform a simple sequence into a compelling narrative.
Think of a movie trailer that starts slowly and builds momentum with progressively faster cuts. This is rhythm in action. By aligning the timing of your cuts with audio cues like music beats or even dialogue patterns, you give your video a professional feel that keeps viewers engaged and immersed in the story.
How to Get Started
You can start manipulating pacing and rhythm immediately, even with simple projects.
- Match the Beat: Put your music track in the timeline first and use your software's marker tool to mark every major beat. Use these markers as a guide for where to make your cuts.
- Vary Shot Duration: Avoid making every shot the same length. A common guideline is the 3-second rule: hold a shot for at least three seconds so the audience can process it, but vary from there to create rhythm.
- Use J-Cuts and L-Cuts: As mentioned before, these techniques are excellent for smoothing transitions and improving narrative flow, which directly impacts pacing.
- Study the Pros: Watch scenes from your favorite movies or creators and pay close attention to the editing. Notice how they use pacing to build excitement or create emotional weight.
9. Learn Transitions and Use Them Intentionally
A common mistake new editors make is overusing flashy transitions. While effects like star wipes might seem exciting, they often distract from the story. The most effective transition is often the most invisible: the standard cut. Professional editors use a simple cut for over 90% of their edits because it's clean, direct, and keeps the viewer focused.
Other transitions, like dissolves, should be used with clear intent. A dissolve, where one shot gradually fades into the next, is great for showing the passage of time. For example, a documentary might dissolve from an old photograph to a modern-day shot of the same location. The key is to ask why you are using a specific transition. If it doesn’t serve the story, a simple cut is almost always better.
How to Get Started
Think of transitions as punctuation for your visual story. Use them to create meaning, not for decoration.
- Master the Cut: Make the standard cut your default. Focus on making your timing precise so the flow feels natural without extra effects.
- Use Dissolves for Meaning: Reserve dissolves for specific moments, like indicating a memory, a dream sequence, or a significant jump in time. A half-second dissolve is usually plenty.
- Study the Pros: Watch high-quality YouTube videos or commercials in your niche. You’ll notice that most rely heavily on straight cuts.
- Avoid Trend-Chasing: Resist the urge to use trendy transitions unless they align perfectly with your video’s style. Intentionality is the most important of all video editing tips for beginners.
10. Understand Aspect Ratios and Export Settings for Different Platforms
One of the most overlooked video editing tips for beginners is mastering aspect ratios and platform-specific export settings. Each social media platform displays video differently. Exporting a horizontal YouTube video for TikTok, for instance, results in massive black bars and a poor viewing experience, leading to up to 25% lower engagement.
Understanding these requirements ensures your video looks its best everywhere. A 16:9 aspect ratio is standard for YouTube, while 9:16 is essential for TikTok and Instagram Reels. Using the correct format from the start prevents quality loss and awkward cropping. After mastering editing, understanding optimizing export settings for platforms like Instagram is crucial for maintaining video quality.
How to Get Started
You don't need to be a technical expert; just create presets for your most-used platforms.
- Create Export Presets: In your editing software, save custom export settings for each platform you post on. This saves time and ensures consistency. For help with this, you can learn how to resize videos for any social media platform.
- Know the Core Formats: Use 16:9 (1920x1080) for YouTube, 9:16 (1080x1920) for TikTok and Reels, and 1:1 (1080x1080) or 4:5 for Instagram feed posts.
- Check Bitrate and Codec: For most web video, the H.264 codec is standard. A bitrate between 8-12 Mbps (megabits per second) is a great target for high-quality 1080p uploads.
- Test Before Publishing: Always do a quick test upload or watch the exported file on your phone and desktop to catch any formatting or quality issues before your audience does.
10 Essential Video Editing Tips — Quick Comparison
TechniqueComplexity 🔄Resources ⚡Expected outcome ⭐📊Ideal use casesKey advantage & tip 💡
Use Keyboard Shortcuts to Speed Up Your Workflow
Low — small learning curve 🔄
Minimal — time to practice, optional customization ⚡
⭐⭐⭐⭐ — significant time savings and consistency 📊
Daily editing, fast-turnaround projects
Speeds workflow; start with 5–10 core shortcuts 💡
Master the Fundamentals of Color Correction
Medium–High — technical understanding required 🔄
Moderate — calibrated monitor, scopes, professional software ⚡
⭐⭐⭐⭐⭐ — consistent, broadcast-ready color across shots 📊
Multi-camera shoots, films, branded content
Fixes lighting issues; always use calibrated display 💡
Organize and Plan Your Project Structure Before Editing
Low–Medium — upfront planning effort 🔄
Minimal–Moderate — folder templates, storage, backups ⚡
⭐⭐⭐⭐ — reduces search time; improves collaboration 📊
Team projects, recurring productions, large edits
Saves hours later; create reusable folder templates 💡
Cut on Action to Create Smooth, Invisible Transitions
Medium — requires coverage and precise matching 🔄
Moderate — extra footage and attention in edit ⚡
⭐⭐⭐⭐ — seamless continuity and maintained momentum 📊
Narrative films, action scenes, interviews with movement
Hide imperfect shots; overlap movement by ~1–2s 💡
Use the L-Cut and J-Cut Technique for Better Pacing
Medium — audio–video synchronization skill 🔄
Low–Moderate — clean audio tracks and editing tools ⚡
⭐⭐⭐⭐ — improved pacing and narrative flow 📊
Dialogue scenes, documentaries, interviews
Enhances storytelling; try 2–3 frame offsets to start 💡
Create Dynamic B-Roll and Establish Shot Sequences
Medium — requires planning and variety in shooting 🔄
High — more shoot time, gear, and storage ⚡
⭐⭐⭐⭐ — visual interest and coverage for storytelling 📊
Vlogs, travel, corporate videos, documentaries
Shoot wide/medium/close and capture motion variety 💡
Master Audio Levels and Normalize Your Sound
Medium — technical listening and tools knowledge 🔄
Moderate — quality headphones/monitors, meters, plugins ⚡
⭐⭐⭐⭐⭐ — clear, consistent, professional audio 📊
Podcasts, films, any dialogue-heavy content
Normalize dialogue (~-20 LUFS); monitor with ears and meters 💡
Use Pacing and Rhythm to Control Emotional Impact
Medium–High — subjective timing and musicality 🔄
Minimal — editing time and reference music; practice ⚡
⭐⭐⭐⭐⭐ — strong emotional engagement and control 📊
Montages, trailers, music videos, emotional scenes
Match cuts to beats; vary shot lengths intentionally 💡
Learn Transitions and Use Them Intentionally
Low–Medium — choice and restraint matter 🔄
Minimal — editing presets and basic effects ⚡
⭐⭐⭐ — supports storytelling when used sparingly 📊
All genres, especially where time or theme shifts occur
Use cuts for 90%+ of edits; reserve effects with purpose 💡
Understand Aspect Ratios and Export Settings for Different Platforms
Medium — many platform specs to track 🔄
Moderate — encoder software, presets, test devices ⚡
⭐⭐⭐⭐ — correct playback and optimized file sizes 📊
Cross-platform publishing, social media, distribution
Create export presets per platform and test on devices 💡
Your Next Step: From Theory to Practice
You've just gone through a comprehensive guide filled with actionable video editing tips for beginners. We've deconstructed the techniques that elevate a simple sequence of clips into a compelling narrative, from the precision of L-cuts to the nuance of color correction. The journey to becoming a proficient editor isn't about memorizing every function; it's about internalizing these core principles and applying them with purpose.
Remember, the goal is not to use every trick in every project. Instead, focus on intentionality. A well-placed cut on action creates a seamless flow that viewers feel rather than see. Thoughtful audio balancing ensures your message is heard clearly. These seemingly small details are what build a professional product that holds audience attention.
From Knowledge to Actionable Skill
The most critical step is the one you take next. Reading about techniques is valuable, but true mastery is forged in your editing timeline. To avoid feeling overwhelmed, select just one or two concepts from this list to consciously implement in your very next video project.
- For your next edit, focus on: Deliberately using L-cuts and J-cuts to smooth out your dialogue. Notice how it makes the conversation feel more natural and engaging.
- On your subsequent project, try: Mastering your audio levels. Pay close attention to your meters and aim for a consistent output, ensuring no part of your video is too quiet or too loud.
- Then, experiment with: A simple, three-shot B-roll sequence (wide, medium, close-up) to add context and visual interest to a talking head segment.
This incremental approach turns theoretical knowledge into muscle memory. Each project becomes a practical lab for honing a specific skill, gradually building your confidence. Before you know it, these advanced techniques will become a natural part of your creative workflow.
The Modern Creator's Advantage: Combining Skill with Smart Tools
As you grow, you'll find that a huge part of modern content creation is about efficiency. Manually applying all these tips to slice a one-hour podcast into ten engaging, vertical TikToks is a monumental task. This is where combining your skills with intelligent technology creates a powerful advantage.
Tools like Klap are designed to automate the most repetitive parts of this process. It can analyze your long-form content, identify the most engaging hooks using AI, automatically reframe your video for vertical platforms like Reels and Shorts, and add dynamic, attention-grabbing captions. By letting technology handle the tedious work, you're free to focus on the creative decisions that truly matter, like refining the narrative and perfecting the color grade. This hybrid approach allows you to multiply your content output without sacrificing quality—the key to accelerating growth today.
Ready to put these tips into practice and supercharge your content workflow? See how Klap uses AI to help you turn long-form videos into dozens of viral-ready short clips in minutes. Try Klap for free and spend more time creating and less time on repetitive edits.
