A Practical Guide on How to Add Captions to Videos
Other
Adding captions to your video is simpler than you think: you can either type them out yourself or use an AI-powered tool like Klap to automatically generate them in seconds. This single step makes your content more accessible, engaging, and much easier for people to find.
Why Captions Are Essential for Modern Video

Let's get one thing straight: captions are no longer an optional add-on. They're a core part of any smart video strategy. In a world where most content is consumed on mobile, you're competing for attention in places where sound is off—think public transit, quiet offices, or late-night scrolling.
The numbers don't lie. Research shows that a staggering 85% of social media videos are watched on mute. If you don't have captions, your message is completely lost on most of your audience. Think of captions as your direct line to grabbing and holding their attention from the very first frame.
Boost Engagement and Comprehension
Beyond just reaching silent viewers, captions have a real, measurable impact on how people interact with your content. They make your message stick by improving how well viewers understand and remember what you're saying. That added clarity naturally leads to higher engagement across the board.
Here's a breakdown of the actionable benefits:
- Increased Watch Time: Videos with captions tend to keep people watching longer. For platforms like YouTube and Instagram, this is a huge signal to their algorithms that your content is valuable.
- Improved Clarity: They're a lifesaver for viewers trying to understand complex topics, speakers with accents, or dialogue happening over background noise.
- Enhanced User Experience: You’re giving people the freedom to watch your content wherever and however they want, which is a big win for viewer satisfaction.
Unlock Powerful SEO and Accessibility Wins
Captions also pack a technical punch that's too often overlooked. When you add a caption file to your video, you're essentially handing search engines a full transcript of your content. That text is crawlable and indexable, making your video far more discoverable for relevant keywords.
By transcribing your video's audio, you turn spoken words into searchable text. This simple action helps Google and other platforms understand the context of your video, improving its chances of ranking in search results.
Finally, accessibility isn't just a nice-to-have; it's a non-negotiable standard. Captions make your content inclusive for the millions of people in the deaf and hard-of-hearing community. This isn't just about expanding your audience—it also aligns with legal standards like the Americans with Disabilities Act (ADA).
The market reflects this growing importance. The global video captioning service industry was projected to hit $2.5 billion in 2025, and you can explore more insights about the video captioning market growth on datainsightsmarket.com.
Choosing Your Captioning Workflow: Manual vs. AI
When you're figuring out how to add captions to your videos, you're essentially at a fork in the road. One path is the old-school manual route—painstakingly precise but a serious time-sink. The other is the AI-powered approach, built for speed and efficiency.
Your choice really boils down to your project needs, your budget, and frankly, how much you value your time. Picking the right path from the get-go can make a world of difference in your entire content creation process.
The Manual Captioning Method
Going manual is the undisputed champion of accuracy. This process involves you (or someone you hire) sitting down, listening to the video, and typing out every single word. You're in charge of perfect timing, noting sound effects, and capturing every bit of nuance.
This hands-on approach gives you total control, which is great for getting things just right.
But that control comes at a steep price. A good rule of thumb is that it takes a professional 5 to 10 minutes just to transcribe one minute of audio. For a 30-minute podcast clip, you're looking at more than two and a half hours of tedious work. For creators pumping out content regularly, this just doesn't scale.
The AI Captioning Advantage
And this is exactly where AI completely changes the game. What used to be a long, manual chore is now a quick, automated workflow.
Tools like Klap can generate a full transcript for a 10-minute video in under 60 seconds. This shift massively slashes the time and effort needed to make your videos more accessible and engaging for your audience.
AI captioning isn't just about moving faster; it's about reclaiming countless hours. Think about it: a creator making just one 20-minute video a week could save over 80 hours a year by switching to AI. That's two full workweeks you can pour back into creating more great content.
The numbers speak for themselves. AI solutions can slash production time by 80-95% while consistently hitting accuracy rates above 98%. This kind of efficiency is why the market was valued at around $5.84 billion in 2025 and is only expected to keep growing. You can see more on the trends and the power of AI captions at opus.pro.
Manual vs AI Captioning at a Glance
So, how do you decide which path to take? This table breaks down the key differences to help you choose the right workflow for your needs.
FeatureManual CaptioningAI Captioning
Speed & Efficiency
Extremely slow; can take 5-10x the video's length.
Incredibly fast; captions generated in seconds or minutes.
Accuracy
Can achieve 100% accuracy, capturing nuance and context.
Typically 95-98%+ accurate, but may miss jargon or names.
Cost
High, especially if outsourcing to a professional service.
Very low cost, with many tools offering generous free tiers.
Scalability
Difficult to scale for high-volume content creators.
Highly scalable; handles large volumes of video with ease.
Control & Customization
Complete control over every word, timestamp, and style.
Good control, but relies on initial AI output for the base.
Best For...
Projects requiring perfect accuracy, like legal or medical.
Social media creators, marketers, and high-volume producers.
Ultimately, for most creators today, a hybrid approach makes the most sense.
Even with sky-high accuracy, it's always a good idea to give your AI-generated captions a quick human review. You might need to tweak some industry-specific jargon, fix a name, or use a simple video trimmer tool to tighten up the timing.
Letting AI do the heavy lifting and then giving it a quick polish yourself offers the perfect blend of speed, cost-effectiveness, and professional quality.
Getting Your Captions Just Right With AI
This is where the magic happens. AI does the heavy lifting, and you come in to add the final human touch. Not too long ago, this was a painstaking task, but modern tools have turned it into a quick, almost effortless process. With a platform like Klap, you can go from a raw video file to perfectly polished, captioned content in minutes.
The first part is as simple as it gets: just upload your video or drop in a link from YouTube. The AI immediately gets to work, listening to the audio and generating a full transcript. In less time than it takes to make a coffee, you’ve got a solid foundation for your captions, saving you from hours of tedious typing and syncing. If you're curious about the tech behind this, it's worth reading up on what audio to text AI is and how it works.
The Art of the Quick Edit
Even with AI captioning boasting over 98% accuracy, that last 2% is where you, the human, make all the difference. This is the polishing stage—turning a great automated transcript into a flawless, professional final product. Your job here is to catch the subtle things a machine might miss.
Most of the cleanup involves small, common-sense fixes:
- Correcting Jargon and Names: AI can stumble over industry-specific terms, unique brand names, or people's names. A quick scan to correct these keeps your content looking authoritative and professional.
- Fixing Homophones: Words that sound alike but mean different things (think "their," "there," and "they're") are classic tripwires for AI.
- Adjusting Punctuation: This is your chance to tweak commas, periods, and question marks to better match the speaker's natural pacing and tone.
This isn't about rewriting the entire script from scratch. It's more like a series of small, surgical strikes. For instance, if the AI transcribed "Klap" as "clap," a simple find-and-replace takes care of it in seconds.
Think of yourself as the quality control expert. The AI has already assembled 95% of the product; you’re just doing the final inspection, tightening a few bolts to make sure everything is perfect before it goes out the door.
Fine-Tuning Timing and Readability
Getting the words right is one thing, but making sure they appear on screen at the right time is just as important for a good viewing experience. Captions should feel perfectly in sync with the speaker, making them easy and natural to follow.
With a good AI subtitle generator, you can easily drag and adjust when each line of text appears and disappears. Here are two actionable tweaks that make a huge difference:
- Splitting Long Lines: If one caption block is a giant wall of text, it can feel overwhelming, especially on a phone screen. Breaking it into two or three shorter, bite-sized lines is much easier on the eyes.
- Merging Short Segments: On the flip side, sometimes the AI creates a bunch of short, choppy captions that flash on and off the screen. Merging these into a single, smoother line creates a much better reading flow that matches how the person is actually talking.
By spending just a few minutes on these small refinements, you can elevate your AI-generated captions from "good enough" to perfectly polished. It's the best of both worlds: the incredible speed of automation paired with the nuanced touch of a human editor.
Styling Captions for Engagement and Brand Identity
Once you've got your captions transcribed and timed perfectly, it's time for the fun part: making them look good. This isn't just about decoration. Think of your captions as a key piece of your video's visual design—an element that can either blend in or stand out.
Strategic styling transforms plain text into a powerful tool that grabs attention, holds it, and reinforces your brand with every single frame. The choices you make here—from the font and color to the animation and background—directly influence how viewers connect with your content.
In fact, great-looking captions are more important than ever. A recent study found that over 50% of Americans use captions most of the time, not just for accessibility but for comprehension, especially when watching on the go. When styled well, captions make this experience better for everyone.
This simple workflow shows where styling fits into the bigger picture. You upload, let the AI do its thing, you edit, and then you style.
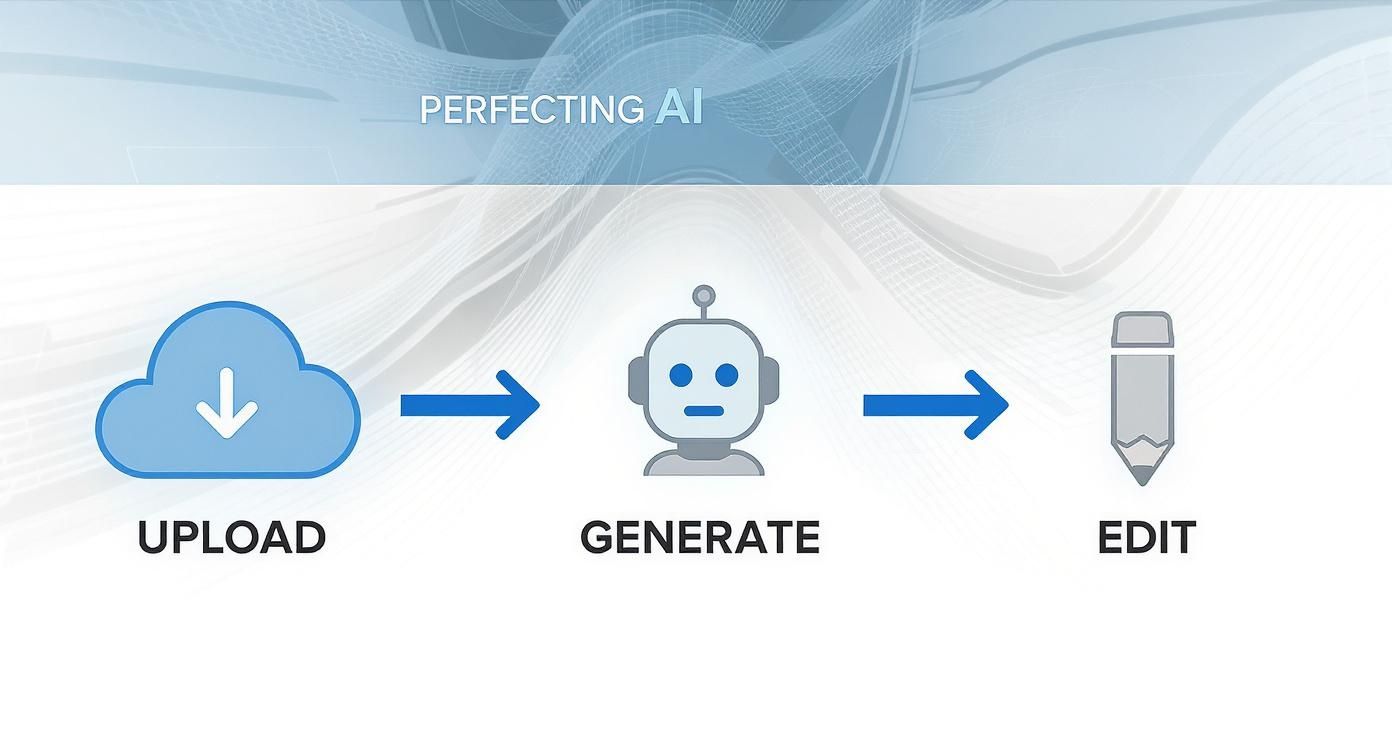
As you can see, styling is the final, crucial polish after all the technical work is done.
Aligning Caption Style with Your Brand
Your caption style should be just as consistent as your logo or color scheme. It's a subtle but incredibly effective way to build brand recognition across all your video content. For instance, the bold, animated, and often colorful captions you see all over TikTok and Instagram Reels are intentionally designed for maximum impact in a fast-scrolling feed.
On the flip side, a corporate webinar or an educational video would call for a cleaner, more minimalist style. A simple, legible font with a semi-transparent background box looks professional and keeps the focus on the message, not the text itself.
The key is to match your caption aesthetic to the platform and the audience's expectations. A flashy, trendy style might feel out of place on LinkedIn, while a static, formal caption could get lost in the noise of TikTok.
This is where a tool like Klap really simplifies things. Instead of manually styling captions for every single video (which is a huge time-sink), you can create and save brand presets. Just define your specific font, color scheme, and background effect once, and then apply it to all your future clips with a single click.
Essential Styling Elements to Consider
When you’re setting up your brand preset, dial in on these core components. Getting them right ensures your captions are both attractive and dead-simple to read.
- Font Choice: Pick a font that's clean, legible, and fits your brand's personality. Steer clear of overly decorative or thin fonts that become a blurry mess on small mobile screens.
- Size and Placement: Make sure your text is large enough to be easily readable without covering up important visuals in your video. The standard spot is bottom-center, but don't be afraid to experiment with placement for creative effect.
- Color and Contrast: High contrast is your best friend here. White text with a black outline or on a dark background box is a classic for a reason—it’s universally readable against almost any backdrop. Use your brand colors strategically, maybe for highlighting key words.
- Background Effects: A subtle drop shadow, a solid background box, or a simple text outline can make your captions "pop" against any video background. This is crucial for making sure they never get lost in a busy scene.
By investing a little time upfront in styling, you ensure every video you put out looks polished, professional, and unmistakably yours.
Mastering SRT Files and Caption Formats
If you really want to get a handle on video captions, you need to know about the file that makes it all happen: the SRT, or SubRip Subtitle file. Think of it as the universal instruction manual for captions.
It’s just a simple text file that tells a video player exactly what words to display and precisely when to display them.
The real beauty of the SRT format is its simplicity. Every caption entry is broken down into three simple parts:
- A number to keep the captions in order.
- A start and end timestamp, like
00:00:05,500 --> 00:00:08,200. - The actual caption text.
This straightforward structure is why SRT files are the industry standard. They work with pretty much every video platform and editing software you can think of, from YouTube to Adobe Premiere Pro. When you export captions from a tool like Klap, the SRT is usually the most practical format you’ll work with.
Open vs. Closed Captions
Now, let's get into how these captions actually show up on your video. You've got two main choices: open captions and closed captions. The right one for you depends entirely on where your video is going to be seen and how you want your audience to interact with it.
- Open Captions: These are "burned" right into the video file itself. They’re always visible and can’t be turned off. This is the go-to for social media like TikTok and Instagram, where videos often autoplay on mute. Open captions are essential for grabbing attention immediately in a fast-scrolling feed.
- Closed Captions: These are separate files (like our friend, the SRT) that you upload alongside your video. Viewers can choose to turn them on or off. This is the preferred method for platforms like YouTube, where accessibility and user choice are bigger priorities. Understanding the nuances of closed captions is key to mastering this format.
The choice between open and closed captions is a strategic one. For a quick TikTok clip, burned-in open captions are non-negotiable. But for a longer YouTube tutorial, giving viewers control with closed captions creates a much better user experience.
The demand for both formats is exploding. The global captioning market was valued at $264 million in 2021 and is expected to hit $356 million by 2025. This isn't just a trend; it shows how critical captioning has become for making content accessible and reaching a global audience.
With the right tools, you can even translate videos to tap into these growing international markets.
Answering Your Biggest Captioning Questions
Once you get the hang of adding captions, a few practical questions always seem to surface. I've been there. Getting these sorted out early will save you a ton of headaches and help you create much more effective content. Let's dig into the common hurdles creators face.
How Do I Make My Captions More Engaging for Social Media?
On platforms like TikTok, Instagram Reels, and YouTube Shorts, your captions need to be part of the action. Static, boring text just gets ignored. The trick is to make your text a dynamic visual element that pulls people in.
Here are a few actionable tips that work really well:
- Use Bold, High-Contrast Colors: Your text needs to pop. Choose colors that fit your brand but stand out against whatever is happening in your video. Don't be shy—bright and bold is the name of the game here.
- Animate Your Text: The word-by-word caption trend is popular for a good reason: it keeps eyes glued to the screen. Another great trick is to highlight keywords with a quick color change or a subtle pop effect to emphasize your key points.
- Sprinkle in Some Emojis: A well-placed emoji adds personality and emotional context. It breaks up the text and makes your video feel more like a conversation.
The goal is to weave the captions into the video itself, making them an essential part of the viewing experience. Thankfully, tools like Klap have built-in style templates that create these trendy, attention-grabbing effects with a single click.
What Is the Real Difference Between Captions and Subtitles?
People throw these terms around interchangeably, but they actually serve two very different functions. Nailing this distinction is key to making your content truly accessible.
Here’s the simplest way to think about it: captions are for people who can't hear the audio, while subtitles are for people who can't understand the language.
- Captions are designed for accessibility. They don't just include dialogue; they also describe other crucial sounds like
[door slams],[upbeat music], or[phone ringing]. This gives deaf and hard-of-hearing viewers the full context of the scene. - Subtitles are purely for translation. They assume the viewer can hear everything just fine and only provide a direct translation of the spoken words.
So, one is for hearing accessibility, the other is for language accessibility. Simple as that.
Can I Add Captions to a Video That Is Already Published?
This is a classic "oops" moment many creators have, and the answer really boils down to the platform.
For a platform like YouTube, you're in luck. You can hop into YouTube Studio anytime—even years after publishing—and upload an SRT file to add or edit your closed captions. No problem.
But for fast-moving social platforms like Instagram, TikTok, or LinkedIn, it's a different story. Once a video is live, you generally can't add captions. On these platforms, captions are "burned-in" as open captions, meaning they are part of the video file itself. To fix it, you'd have to delete the original post, add the captions to your video, and re-upload it from scratch. This is exactly why it’s so important to get your workflow right and add captions before you hit publish.
How Accurate Is AI Captioning for Technical Topics?
Modern AI captioning is shockingly good. For videos with clear audio, it's common to see over 98% accuracy. Standard conversations are a piece of cake for these tools.
The real test comes when you throw niche or technical jargon at it. AI can sometimes get tripped up on industry-specific terms, unique product names, or even just speakers with strong accents. This is where a hybrid approach really shines.
Let the AI do the heavy lifting and generate the first draft of your transcript in seconds. Then, all you need to do is spend a few minutes giving it a quick human review. You can easily catch and correct any specialized terms the AI might have missed. This simple two-step process gives you the speed of automation with the final polish of a human eye.
Ready to stop wasting hours on manual editing and start creating viral shorts effortlessly? With Klap, you can turn your long-form videos into engaging, perfectly captioned clips in just minutes. Turn videos into viral shorts.
